
There are several good reasons to perform a fresh install. For example if you want to replace your working or broken disk with a bigger or faster model, you bought a second hand device and want to be sure no traces of the previous owner remain, you are selling it yourself or maybe you have some issues with your current install, etc. This post will explain how to perform a fresh installation of the current or an older version of macOS, using a USB drive, on your Mac.
YouTube Video
If you are interested, I also created a YouTube video from this blogpost. If you prefer classic text, you can just follow the rest of this article:
Introduction
The steps that follow will only work for a matching macOS version that is still officially supported on your hardware.
In an earlier post, I covered how to create the same, to install macOS Big Sur, but for unsupported models. This involves using a patched installer. So in case you want to use a version on a mac that no longer supports that, you can use this link.
First, you will need to find out what is the latest supported version of macOS for your mac model. You can check on Apple’s website using the following links:
For the latest version (Big Sur): https://support.apple.com/en-us/HT211238
For macOS Catalina 10.15 https://support.apple.com/kb/HT210222
For macOS Mojave 10.14 https://support.apple.com/kb/SP777
For macOS High Sierra 10.13 https://support.apple.com/kb/SP765
For older versions: https://support.apple.com/en-us/HT211683
If you are creating the USB drive on a different machine then the where you want to do a fresh installation, it’s that second one that matters.
Step 1) Creating the USB installer for the macOS version of choice
The first step is to create a bootable USB drive that contains the macOS installer.
Prepare the USB drive
Before we copy files and make our USB drive bootable, let’s start by preparing it first.
This is not strictly necessary but makes sure you don’t run into issues with the USB drive or remains of other experiments on it.
Insert the drive which you want to use, which should be at minimum 16GB and open Disk Utility. In Disk Utility, click View and Show All Devices.
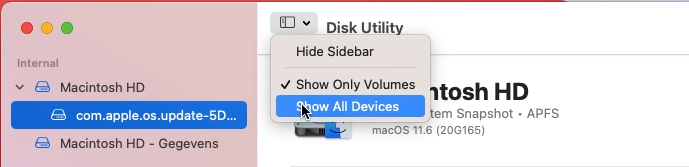
Then click your USB drive on the left side and erase:
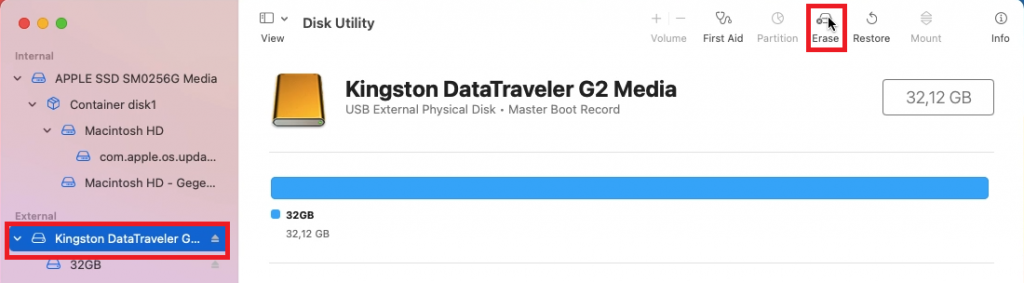
Give the drive a name, choose macOS extended, GUID as scheme and click erase:
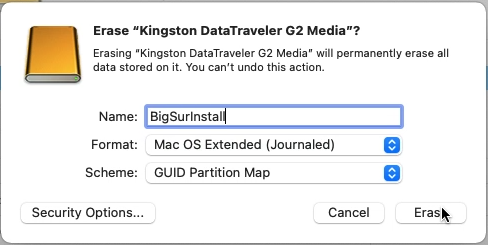
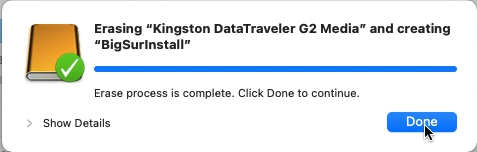
Let Disk Utility erase the drive and create a fresh partition with the name you gave it.
Download the installer of the desired macOS version
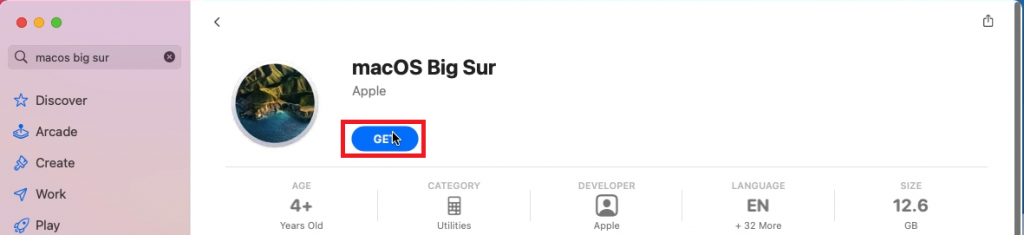
Now that’s done, we can download the macOS installer. If you want to create installation media for the same version as is currently installed on the device which you use to create it with, then you can simply go to the App Store and search for the OS version you have.
For example for Big Sur:
If you want to install another or older version, you can use the following links to get directed to the correct App Store entry:
For macOS Catalina 10.15: https://apps.apple.com/us/app/macos-catalina/id1466841314?mt=12
For macOS Mojave 10.14: https://apps.apple.com/us/app/macos-mojave/id1398502828?mt=12
For macOS High Sierra 10.13: https://apps.apple.com/us/app/macos-high-sierra/id1246284741?mt=12
For older versions: https://support.apple.com/en-us/HT211683
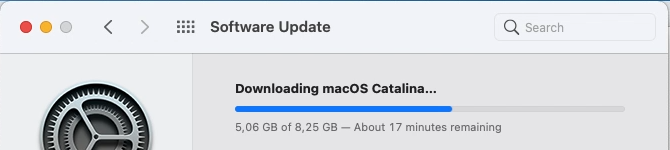
Once you have found it, simply install the application from the App Store.
This can take quite some time as the installer is usually around 10 to 15GB.
Once downloaded, you will see a new application in finder, called install macOS and the version. You do not need to run or open the application. If the OS version you downloaded is older, it won’t even let you. And in case it would have been opened automatically, you can just close it.
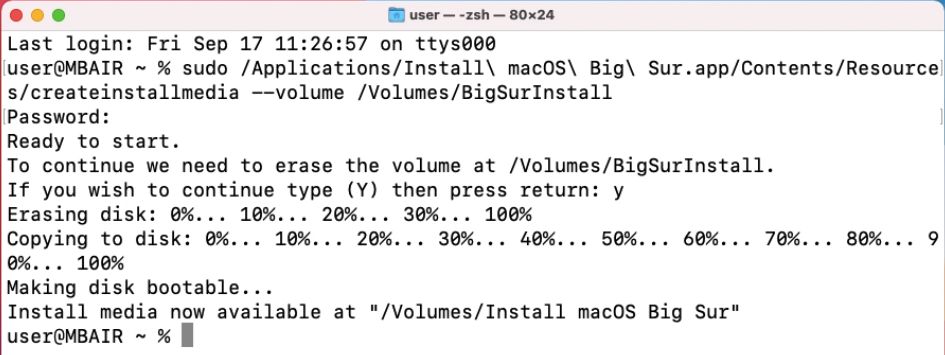
Instead, open a terminal window and enter the following command:
sudo /Applications/Install\ macOS\ <version>.app/Contents/Resources/createinstallmedia --volume /Volumes/<name>
Make sure you replace the <version> with the correctly downloaded version in your path. You can use a tab to complete the entries. For
Same for the Volume name (<name>) which you use as destination, make sure it matches with what you entered in Disk Utility when erasing the USB drive.
For example for Big Sur to USB drive called BigSurInstall:
sudo /Applications/Install\ macOS\ Big\ Sur.app/Contents/Resources/createinstallmedia --volume /Volumes/BigSurInstall
And another example for Catalina to USB drive called 32GBUSB:
sudo /Applications/Install\ macOS\ Catalina.app/Contents/Resources/createinstallmedia --volume /Volumes/32GBUSB
After entering the command, press enter and confirm that you want to erase the contents on the USB drive.
Again this will take some time as all installation files will be copied to your USB drive.
When complete, the utility will make sure the USB drive is made bootable:
That’s it for creating the USB drive. This one can now be used to perform a clean installation of macOS on the same or another Mac.
Step 2) Use the USB drive to perform a clean installation
Now that we have the drive created, we can use it to do a clean installation on the same or a different machine.
First insert the drive into your Mac, then reboot it (or just boot it when it’s powered down).
Hold down the alt or option key during the boot process.
This will bring up the boot loader. If all goes well, you should see an entry here for the USB drive. It’s called install macOS and the version you chose.
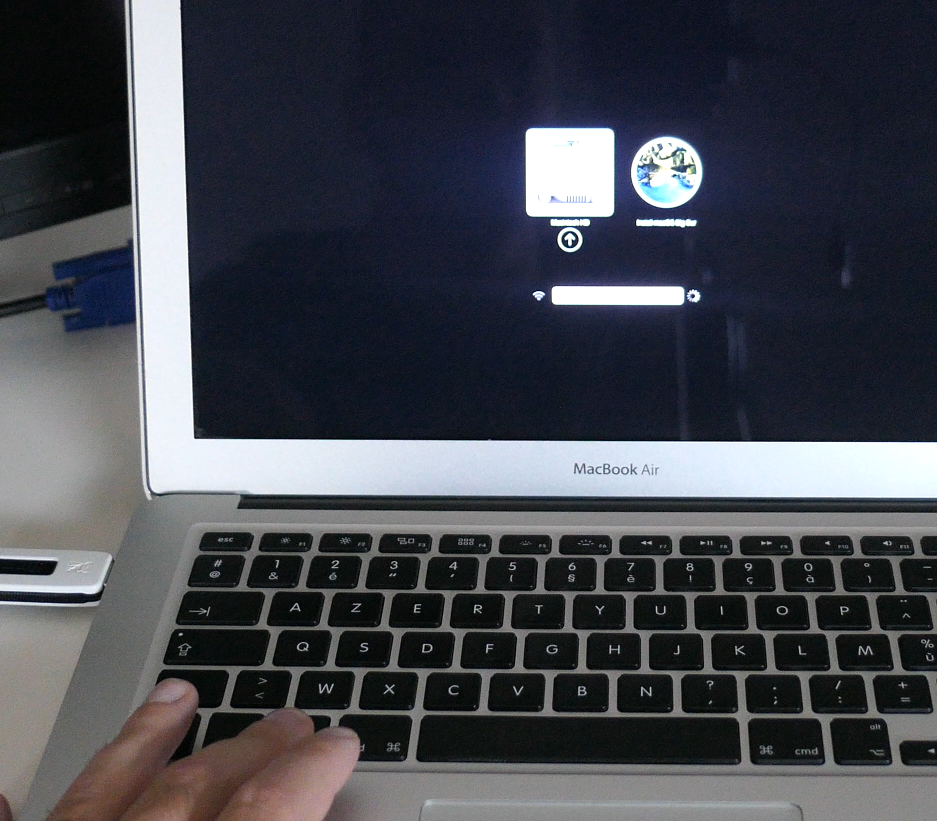
Select that and press enter.
Now your mac will boot macOS recovery from the USB drive.
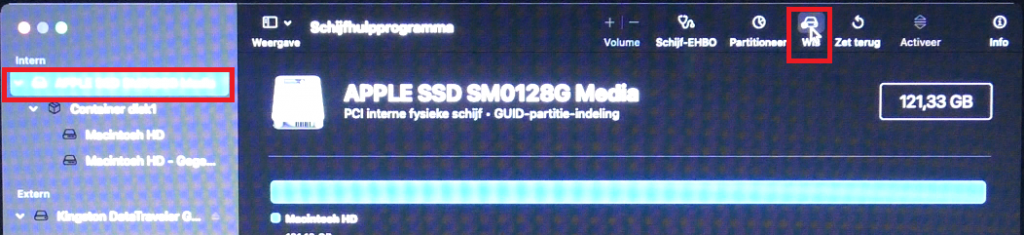
In recovery, we will first completely erase the current contents of your disk, so open up Disk Utility and select again to show All Devices. Then select your internal hard drive or SSD on the left side and click Erase:
Give the drive a name, choose for APFS and click Erase. Once the disk has been erased and a new volume with the name of choice was created, close Disk Utility.
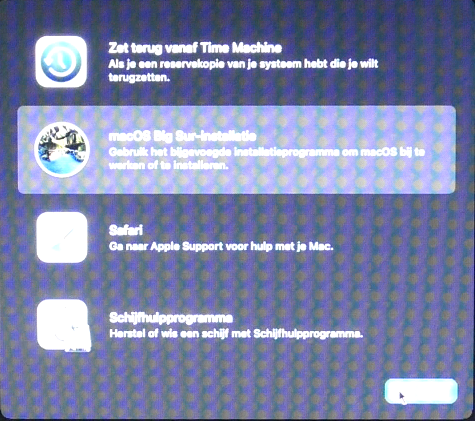
From the menu, we can now launch the installation:
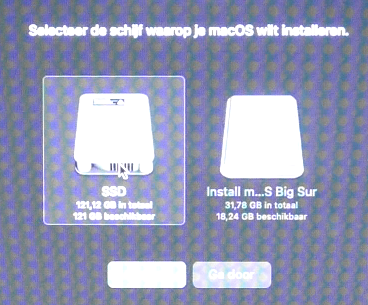
Click Continue, accept the license terms and select the name of the drive which we just entered in disk utility:
Now, all we need to do is wait. This can take a pretty long time, obviously depending on the speed of your mac and USB drive.
When the installation is finished, we need to answer a few configuration questions like language, keyboard, connect with wifi, accessibility, etc:
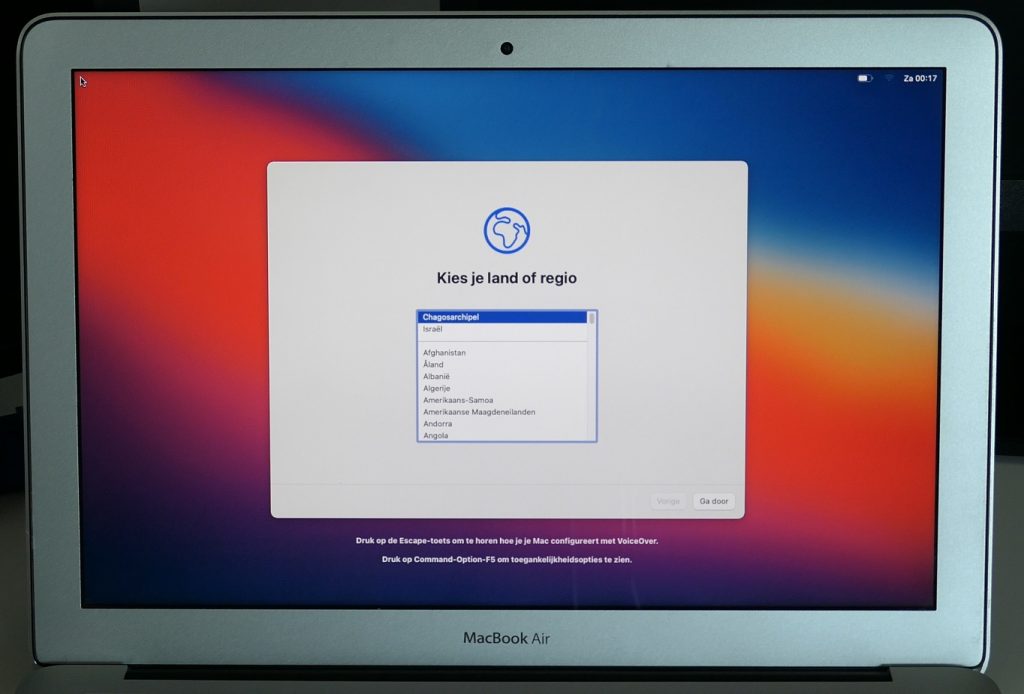
Complete these steps and you will be greeted with a fresh desktop on a nice and clean macOS installation. Exactly the same as it would be brand new out of the box.