
In recent years, the need to run Windows next to or on top of your Mac has significantly decreased. Partly because more applications are now available natively on macOS, but also because so much has moved to web-based interfaces. Nevertheless there are still plenty of Windows applications that we simply can’t replace on macOS or that aren’t supported. This post covers how easy and quick it is to run Windows 11 ARM on top of an Apple Silicon machine.
Youtube video
If you are interested, I also created a YouTube video from this blogpost. If you prefer classic text, you can just follow the rest of this article:
Introduction
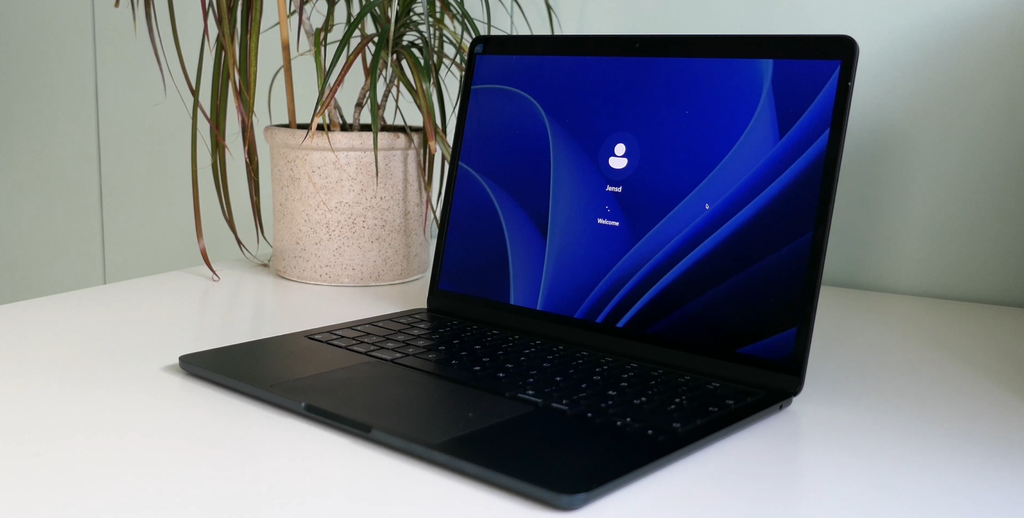
The goal of this article is to show you how to run Windows 11 ARM on top of an Apple Silicon-based Mac. This will allow you to run applications that are not available for macOS, including some smaller or older games:
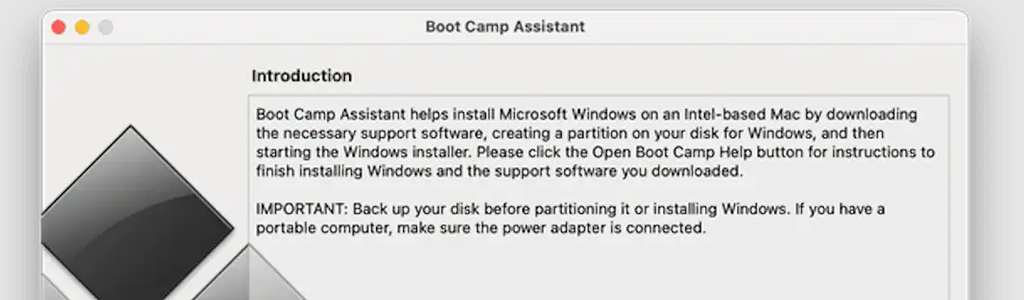
Before Apple released Macs with Apple Silicon, Macs used the same CPU architecture as most Windows machines: x86. Back then, it was relatively easy to run Windows on a Mac, either as a virtual machine or even natively using Boot Camp:
With Apple Silicon, things became a little more complicated. These Macs use the ARM architecture, while traditional Windows PCs were still mainly based on x86.
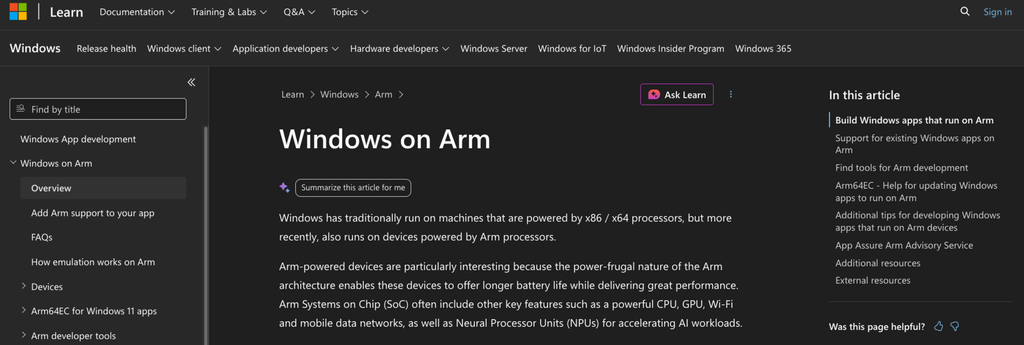
The good news is that Microsoft now provides Windows 11 for ARM, and Windows 11 ARM can run both native ARM64 applications and many x86 and x64 Windows applications through emulation:
There are commercial solutions like Parallels that allow you to run this in a virtual machine on silicon-based Macs , and they do a great job. But unfortunately, they come with a price tag. Fortunately, as an alternative, we can use UTM instead, which I’ve covered a few times in previous articles and is completely free to use.
For this post, I will use my M3-based MacBook air but this should work perfectly fine on any other silicon-based machine as well. As we can see in About this mac, my machine is equipped with 16GB of RAM and I’m currently running macOS Tahoe:

Step 1) Install UTM
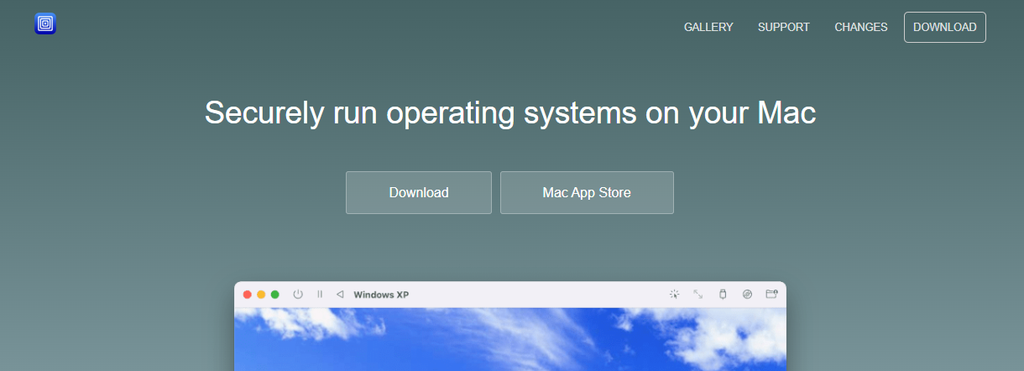
As mentioned earlier, we will be using UTM as a hypervisor so the first step we need to go through is to download this piece of software. To do so, open your browser and navigate to mac.getutm.app. On this page, click the Download link and wait for the download to complete:

Now open your downloads folder in finder and open the donwloaded DMG file by double clicking on it. In the dialog, drag the UTM.app to the Applications folder:
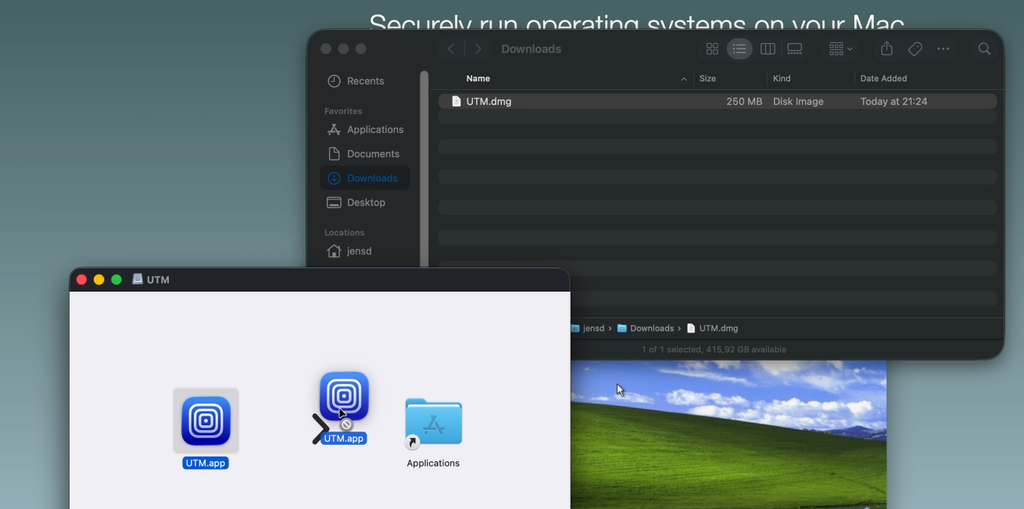
Once that is complete, you can close the UTM window and unmount the DMG file.
Step 2) Get the Windows 11 ARM ISO file
UTM is now installed. The next step is to get the ISO file that contains the Windows 11 for ARM installation files. We can easily get that from Microsoft’s website using the following link: https://www.microsoft.com/en-us/software-download/windows11arm64. On this page, select the only option that is available in the dropdown, called Windows 11 multi-edition ISO for AMR64, then click on Download now:
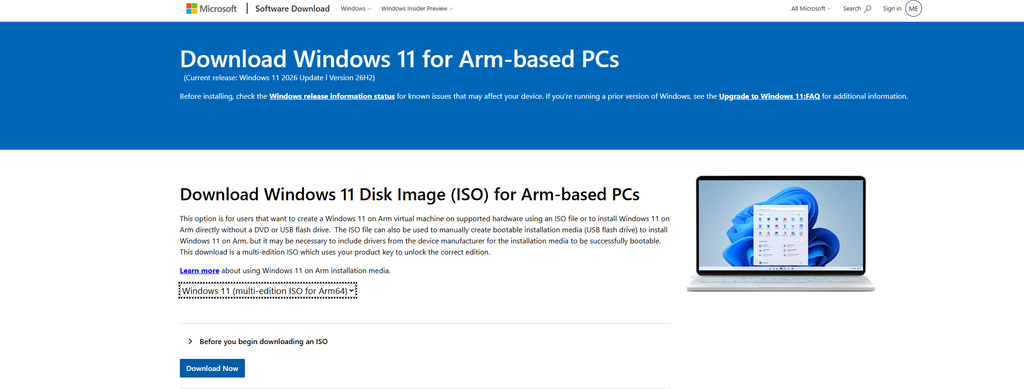
In the next steps, select the desired language for the download and then click confirm and finally click on the Download now button:

The ISO file is quite big so it can take some time to download but fortunately this step has become a lot easier now. Until recently it was a lot harder to get your hands on these installation files, especially without having a Windows machine available.
Step 3) Create a virtual machine
Once the ISO file is fully downloaded, it is time to start UTM and get windows 11 installed. Navigate to your Applications folder in finder and then open UTM:
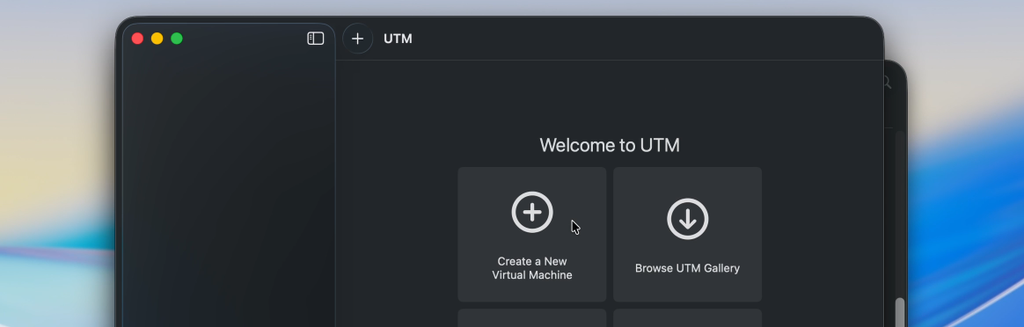
Once UTM is started, click on the + button with label “Create a New Virtual Machine”. The first thing we need to choose is if we want to virtualize or emulate:
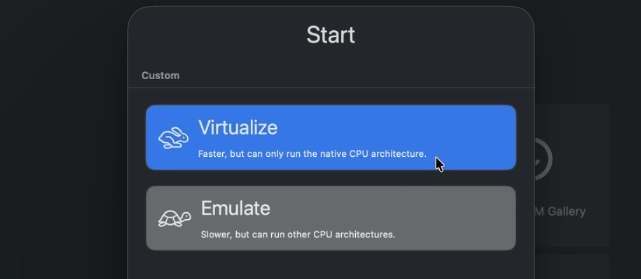
As you can see in the description, virtualization is to use the same CPU architecture, which will result in a pretty good performance. Emulation allows for more flexibility and would make it even possible to run the x86-version of Windows but with a large performance cost.
As we downloaded the ARM version of Windows, which matches the CPU architecture of your Silicon-based Mac, choose Virtualize here.
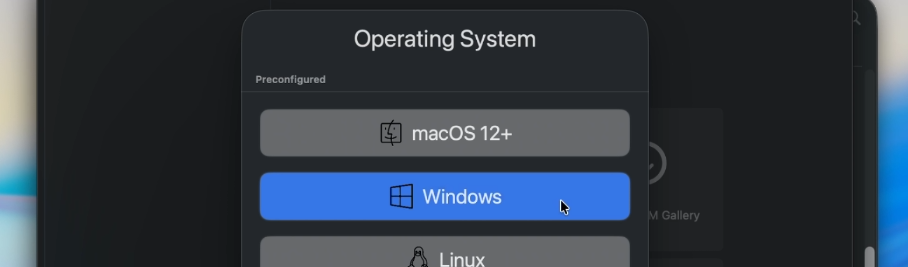
In the next step we need to select the OS we will be running in the virtual machine, oviously we need to choose “Windows”:
Next, we can choose how much memory to assign to the virtual machine. My Mac has 16GB of RAM so assigning haf of that, 8GB, makes sense. If you have less RAM in your Mac, I would say that 4GB is the minimum for a working installation. For the amount of cores, I set this to 4, depending a bit on how performant you want the virtual machine to be and how much should remain available for macOS:

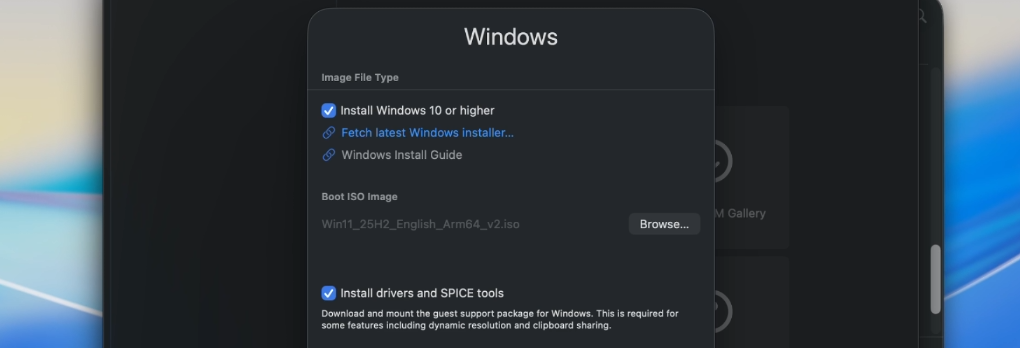
Click continue and in the next step, click browse and point UTM to the location of the earlier downloaded ISO file. Also make sure that the option to install drivers and SPICE tools is selected. As is mentioned here, this enables some features that will make it a lot more comfortable to use Windows on top of your macOS install:
In the next step we can customize how much space is available for Windows. This doesn’t mean that this is immediately reserved, it’s more how large the virtual disk can grow. The default should be fine here:

In the next you can set up a shared folder between the host OS, which is macOS and the virtual machine, running windows. You can skip this step or enable it if desired:

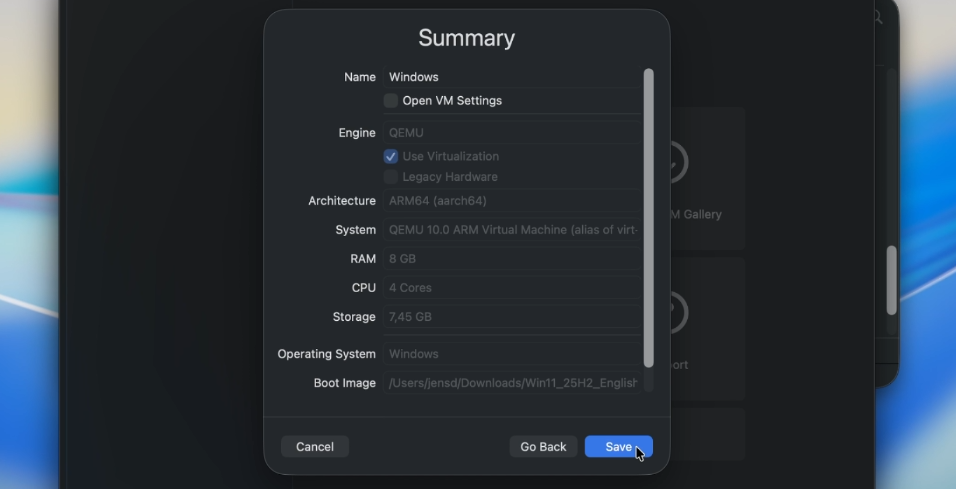
Continue to the last screen where you get to see a summary and click save to create the VM:
Step 4) Install Windows 11 ARM in the newly created VM
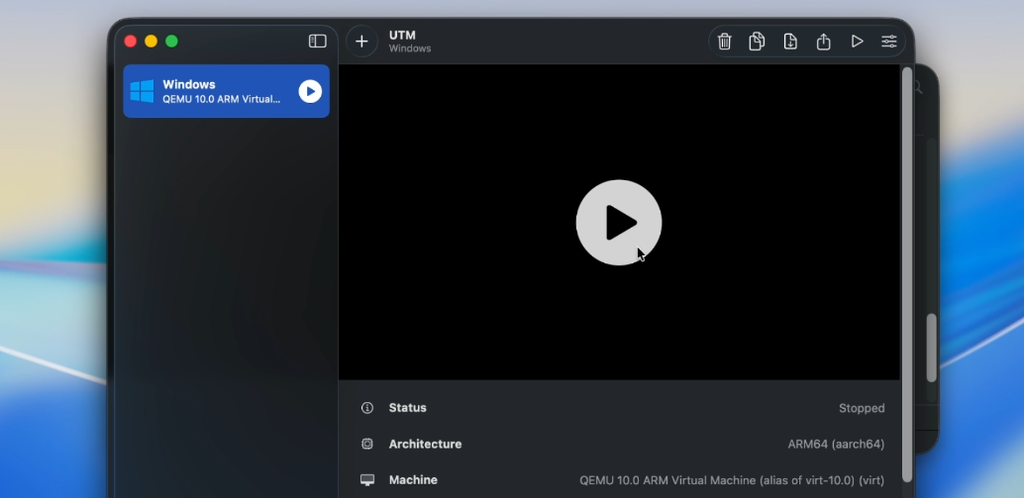
After going through the previous steps we now have a virtual machine, which is still empty. In this step we will run through the Windows 11 ARM installer. Start by pressing the play button for the VM in UTM:
This boots the machine and just as on a physical machine, we need to press a key in order to boot the Windows installation media. If all goes well this should launch the windows installer:
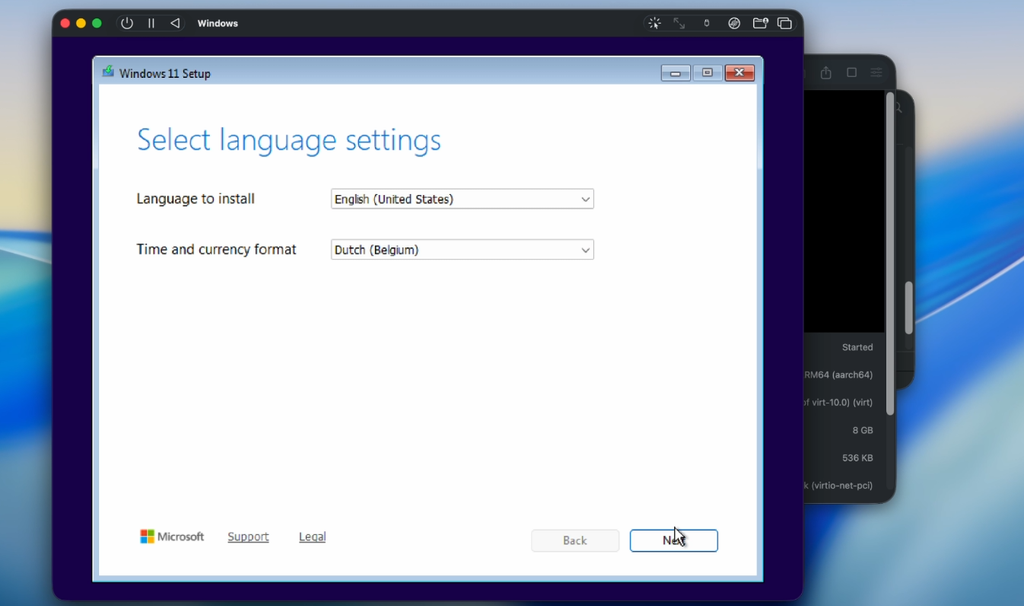
The next steps are exactly the same as installing Windows 11 on “normal” hardware. In the first screen, as displayed above, select the correct time and currency format and click Next.
In the product key step you can provide a valid key for windows or click on “I don’t have a product key and provide it later”. After that, select the version of Windows that you would like to install:
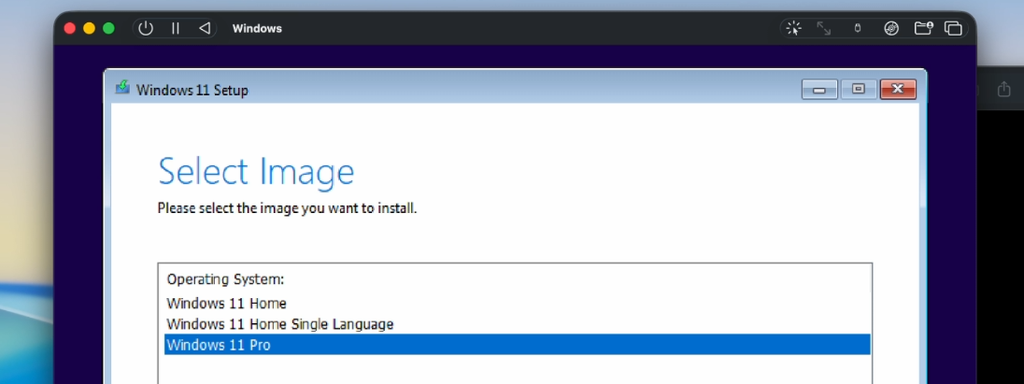
Click Next again, accept the license terms and in the last screen, where you can select where to install Windows 11, simply click next here to install windows on the virtual drive that was created with the VM.
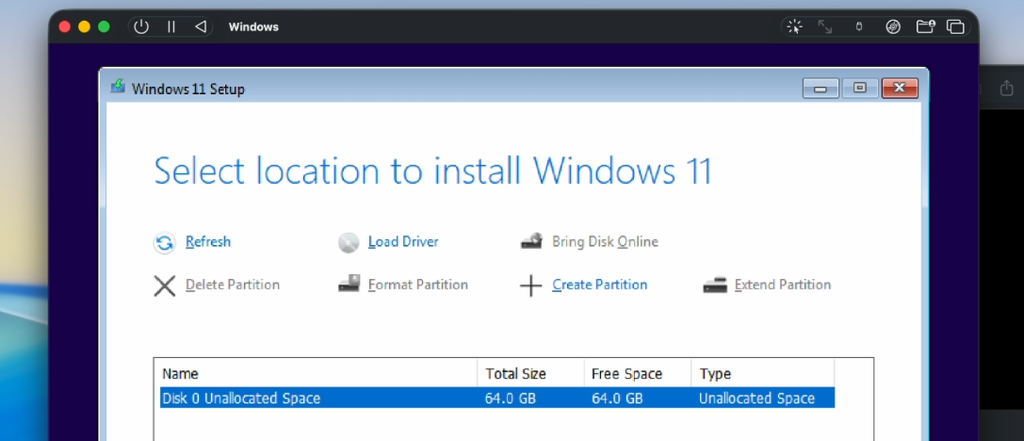
This last step should be all it takes to start the installation. On my machine this step took less than ten minutes:
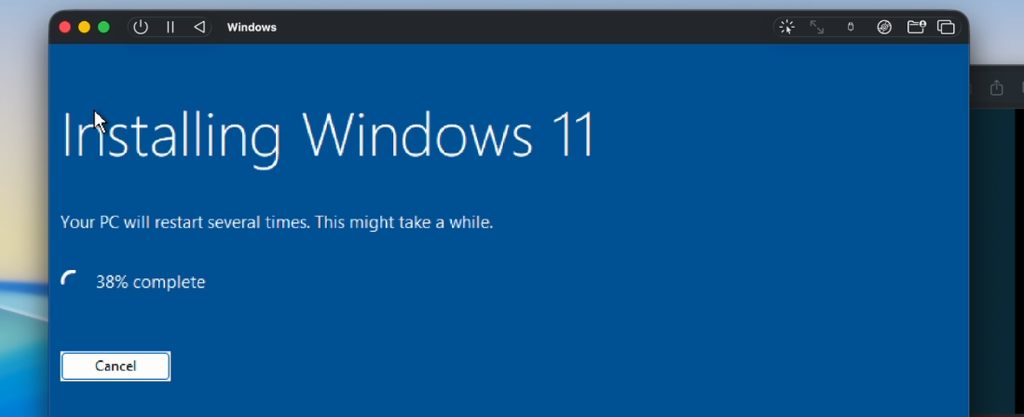
Once the installation completes, you should be greeted with the setup dialog.
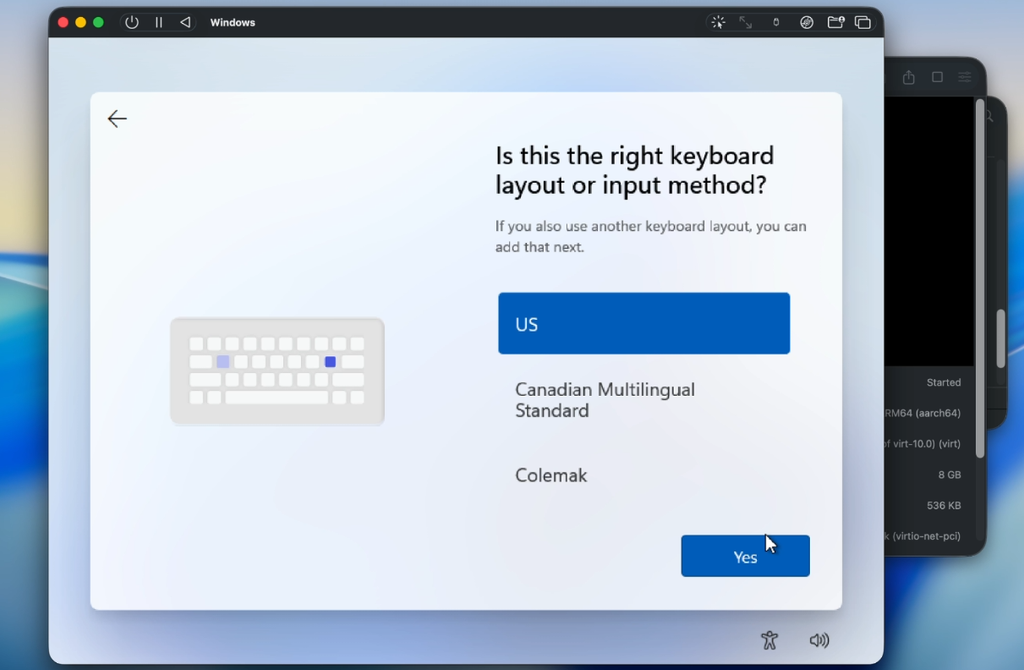
Here you can select your country and correct keyboard layout. and after entering your desired username, the installation continues:
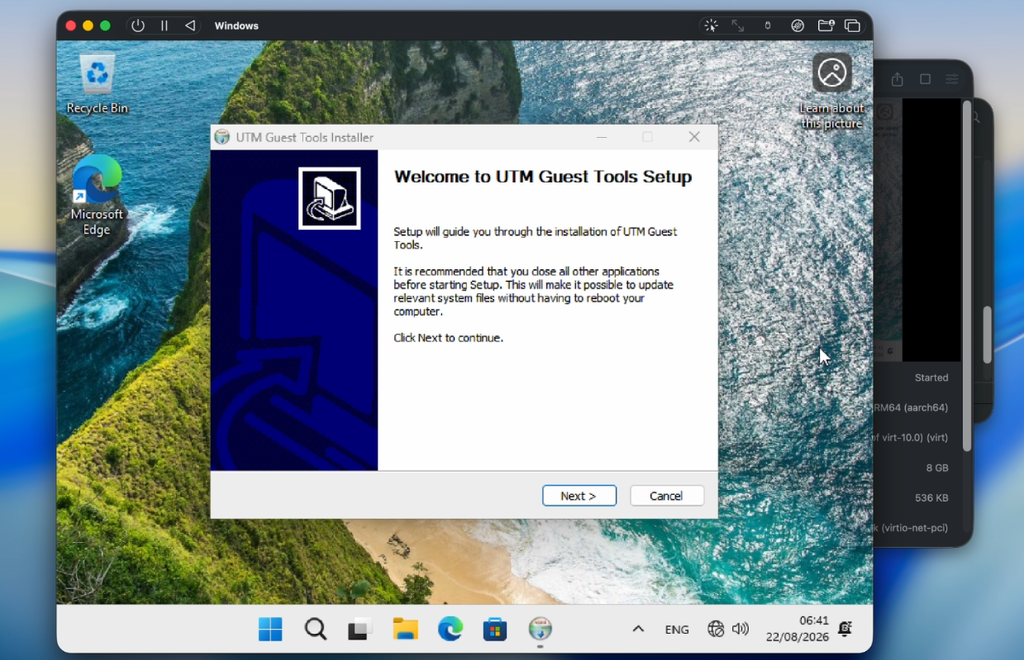
After waiting a but more you should end up with a fresh Windows Desktop, running on top of a silicon-based Mac:
Step 5) Post-installation steps
At this point Windows 11 for ARM is installed on our Silicon-based Mac but by going through some small additional steps we can improve the experience a lot.
As you can see in the above screenshot, the VM immediately asks us to install the UTM Guest tools. As mentioned above, this will make it a lot more comfortable to use the VM so let’s go through this installation first:
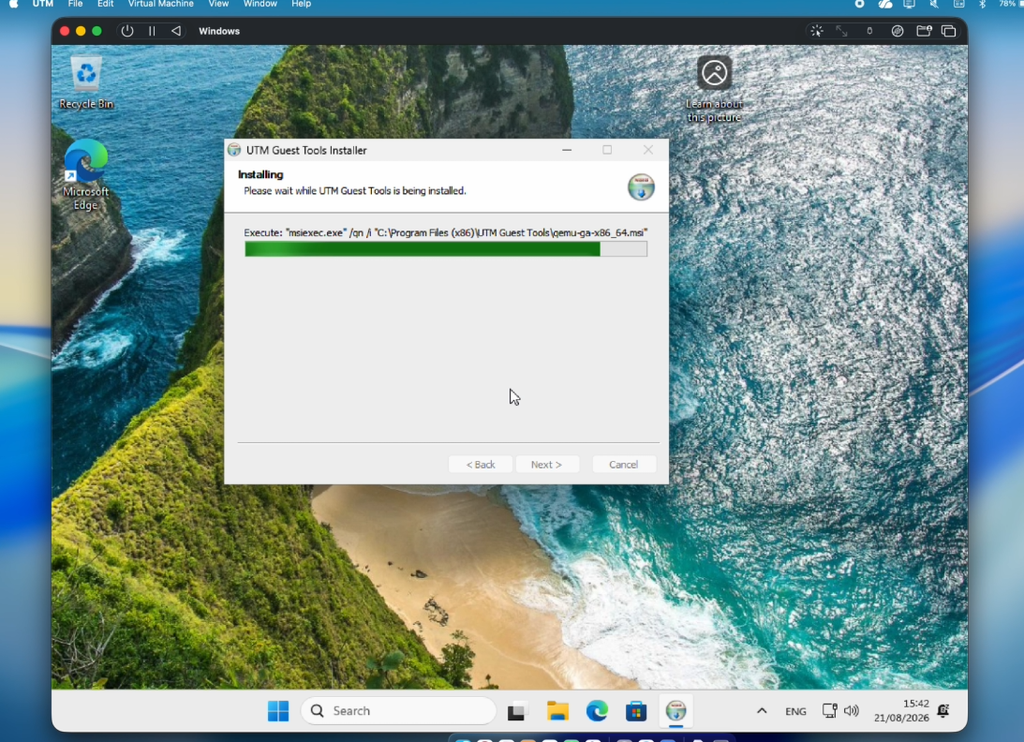
During the installation you will see that the window resizes a few times as a proper graphical driver gets installed. From now on, the resolution of the VM will also dynamically change depending on the size of the Window which will drastically improve graphical quality. Once the installation is finished, the network interface becomes available as well. And from now you should be able to access the internet from within the virtual machine:
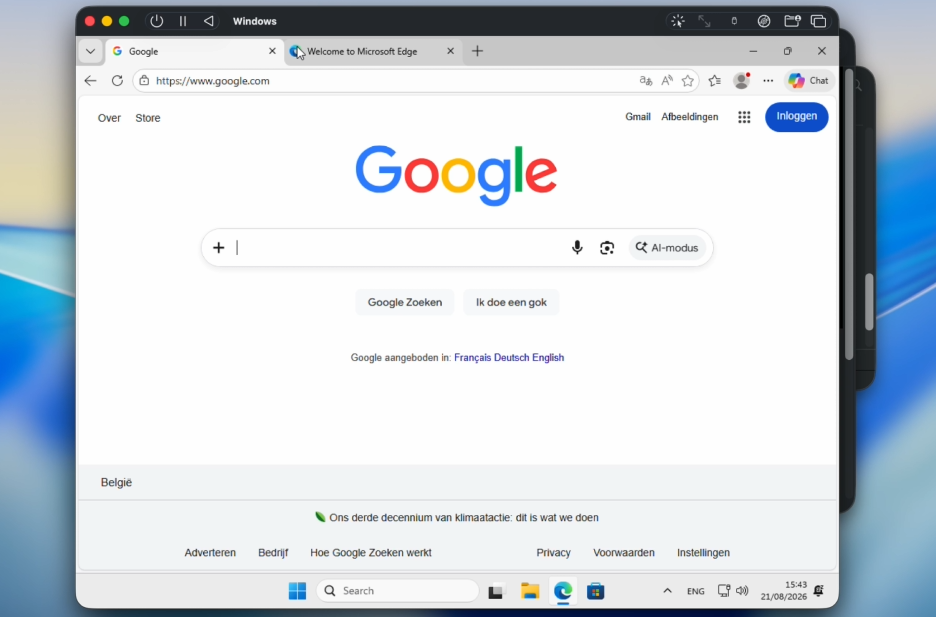
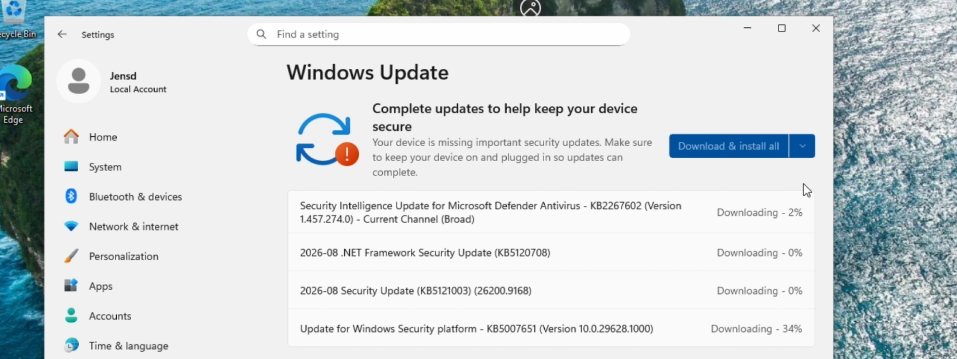
In case you were wondering, Windows Update is working as on a regular PC:
Performance
To test how good this VM actually performs, I ran the latest version of Geekbench 7 inside the virtual machine, followed by the same natively on macOS itself and these were the results:
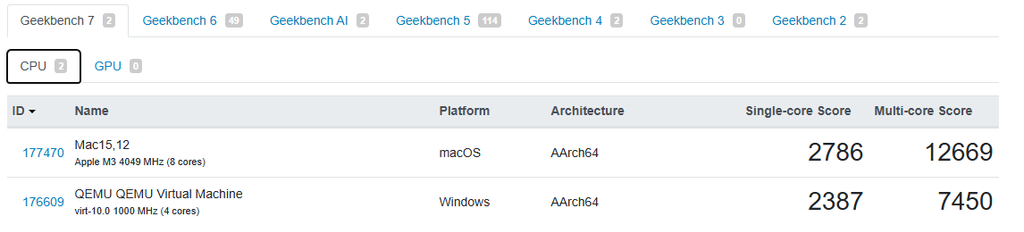
The virtual machine with Windows for ARM manages to score 2387 for single core performance and 7450 for all 4 cores which I assigned to the VM, in multicore. Even without comparing that to the native performance, that’s a really nice score which beats a lot of Windows installations that are running on real hardware.
The same machine, natively under macOS, managed to get 2786 for single core performance, which is only slightly higher than what we get under Windows. In other words, this is more than decent performance.
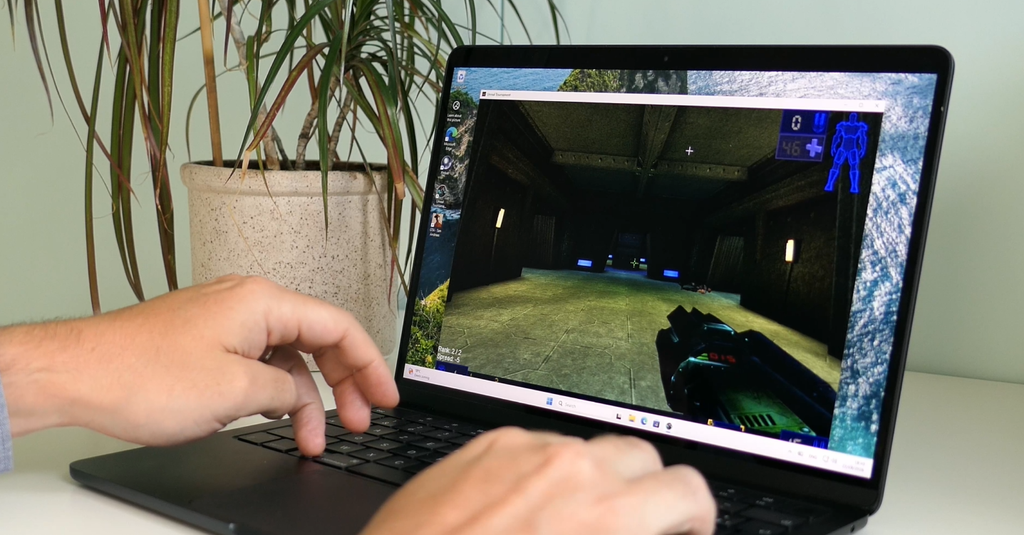
This kind of performance even allows you to run slightly more demanding applications on top of Windows in the virtual machine. While there is an additional performance penalty when running x86-based applications on top of Windows for ARM it still allows for a lot of fun and even some simple or older games like Unreal Tournament:
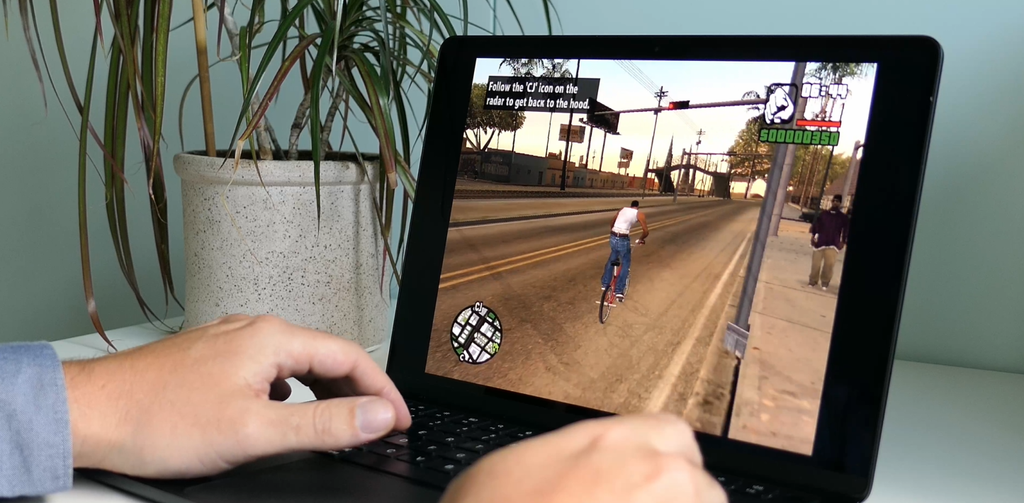
To my surprise I even managed to run something like GTA San Andreas. Performance isn’t that great but it’s enough for a nice round of nostalgia:
Conclusion
As you can see, getting Windows running on top of an Apple Mac that is silicon-based became pretty easy and fast. It works great for running tools and applications that are not supported on macOS and even allows for some fun with some older or simpler games.