
MacOS Sequoia was released a few days ago which also means that each year, the list of officially supported machines has some of its devices removed and these are no longer able to upgrade or install to the newest version of macOS. A lot of devices that are no longer on the list are still perfectly working Mac hardware, which is more than capable to run the latest macOS version. This post will cover how you can work around these limitations and still install macOS Sequoia on your system even if it is unsupported by Apple.
YouTube Video
If you are interested, I also created a YouTube video from this blogpost. If you prefer classic text, you can just follow the rest of this article:
Introduction
Since a while now, Apple is releasing a new major version of macOS every year around this period. This also means that each year, the list of officially supported machines has some of its devices removed and these are no longer able to upgrade or install to the newest version of macOS, at least not in a standard or supported way. I’ve been covering the process on how to still be able to run macOS versions that are not supported for quite a while now in previous posts:
- Install macOS Sonoma on unsupported models
- Install macOS Ventura on unsupported models
- Install macOS Monterey on unsupported models
- Install macOS Big Sur on unsupported models
Specifically for macOS Sequoia, not too much hardware support was dropped, only two 13-inch MacBook Air models from 2018 and 2019 will no longer be able to install Sequoia in comparison with Sonoma:
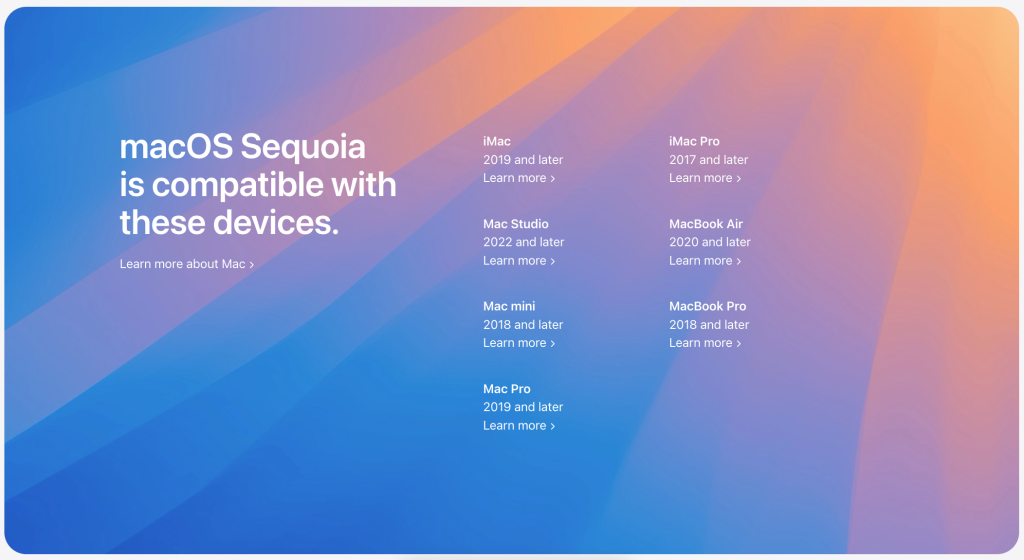
Still, the list lacks quite some unsupported models that only came out 5 to 6 years ago and these machines, together with a lot of even older ones are more than capable to run Sequoia.
Solution using OpenCore Legacy Patcher
Fortunately we have a relatively easy way to work around these limitations by using OpenCore as our bootloader. Doing so will allow you to trick an unmodified macOS installer in thinking it is running on supported hardware. And by using OpenCore Legacy Patcher, which doesn’t only make it easy to build and install OpenCore, we can also overcome issues for hardware-components that got their support removed in newer operating system versions by supplying missing drivers, extensions or other types of patches and workarounds to fix this.
Supported hardware
Right before the release of Sequoia, the OpenCore Legacy Patcher or OCLP team released their 2.0.0 version of the tool and if we look at which models they support for Sequoia, you can see that the list is quite a bit longer here:
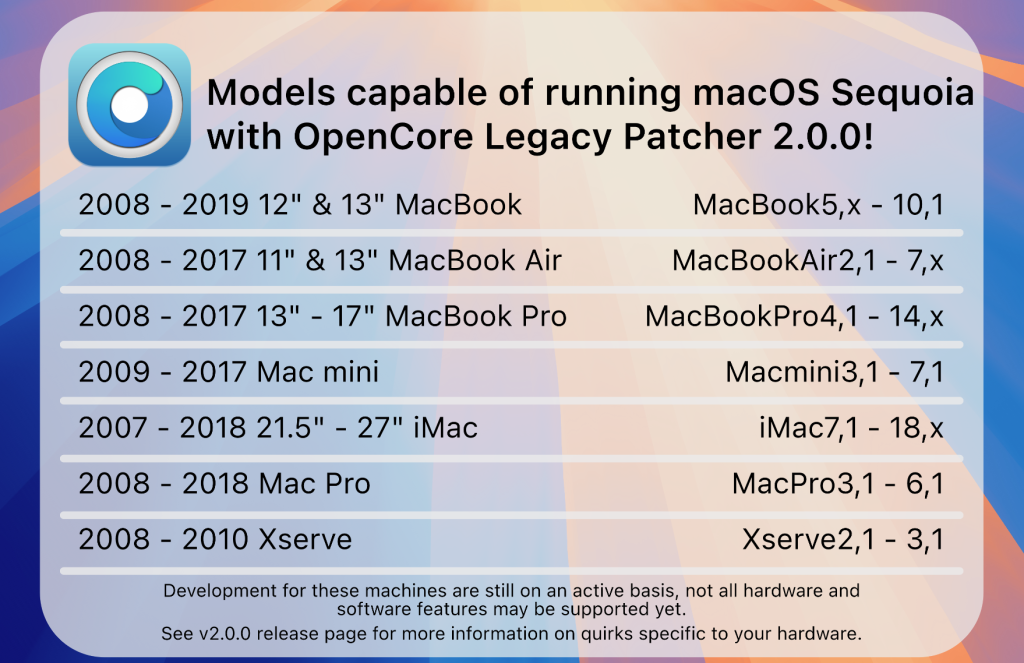
It looks like most of the Mac hardware from 2008 onwards seems to be able to run Sequoia by using OCLP, which I think is very good news.
On the website of OCLP you can find a very detailed list of the supported Mac models over here: https://dortania.github.io/OpenCore-Legacy-Patcher/MODELS.html. As you might see in the list, some models might have specific issues or remarks. For example like in the screenshot below:
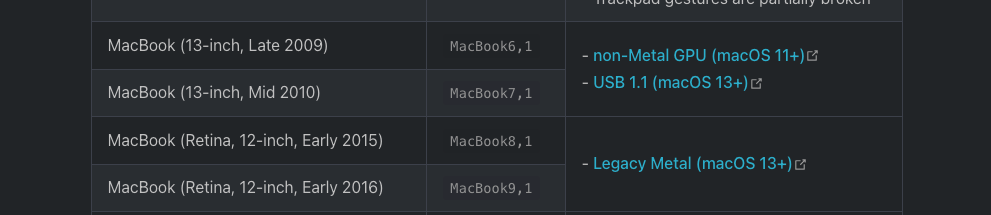
The two most common are:
- GPU-support, where OCLP will apply a patch for non-Metal GPUs or similar for legacy Metal hardware which in practice doesn’t really affect you much.
- Lack of support for USB 1.1, which might require a small workaround during the installation process. In that case you might need to connect your keyboard and mouse through a USB 2.0 HUB instead of directly to your machine.
In practice
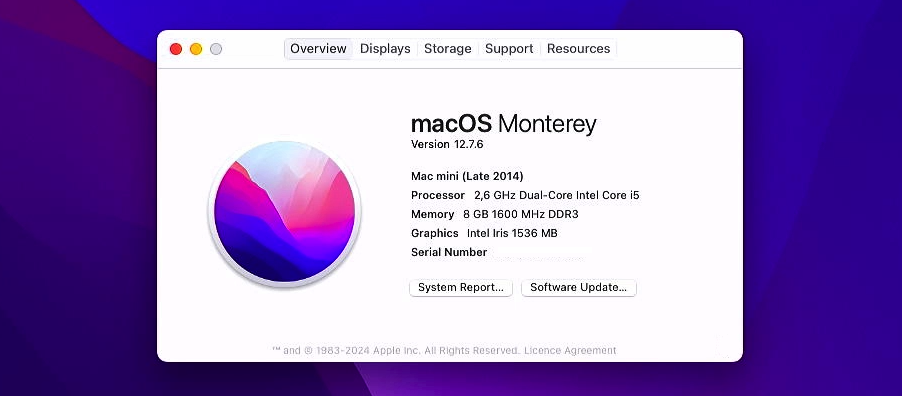
All this sounds nice in theory but does it also work? To test this, I will be using my Late 2014 Mac :ini. This device’s last officially supported macOS version was macOS Monterey and it is nowhere close to be part of the list of Apple-supported hardware for Sequoia.
As a starting point, I did a clean installation of macOS Monterey:
In general it is recommended to be on that last officially supported release of macOS for your machine as well.
Step 1) Prepare a bootable USB drive with the macOS Sequoia installer and OpenCore
Prepare the USB drive
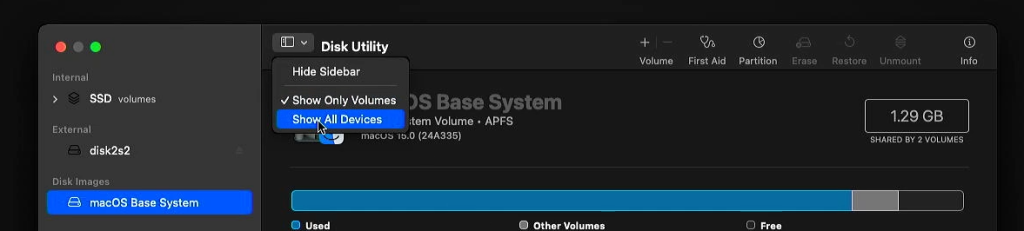
You will need a USB drive of at least 32GB for this process. As a first step we will prepare this drive properly. Although OCLP should also be able to take care of this later as well, I prefer to make sure we start clean. Let’s insert the USB drive first and then start Disk Utility.In there, click on View > Show All Devices:

Then find your USB drive on the left side and make sure to click on the device itself, not a volume on the device and click on Erase. In the dialog that comes up, provide a name, I chose for “SequoiaUSB”, select “Mac OS Extended” as format and “GUID Partition Map” as scheme, then click “Erase”:

After this process complets, the USB drive is ready and we can close Disk Utility and move on to the next step.
Download the latest release of OpenCore Legacy Patcher.
In this step we will need to download the latest version of OCLP. To do so, navigate to the releases page of OCLP on GitHub using your browser: https://github.com/dortania/OpenCore-Legacy-Patcher/releases:
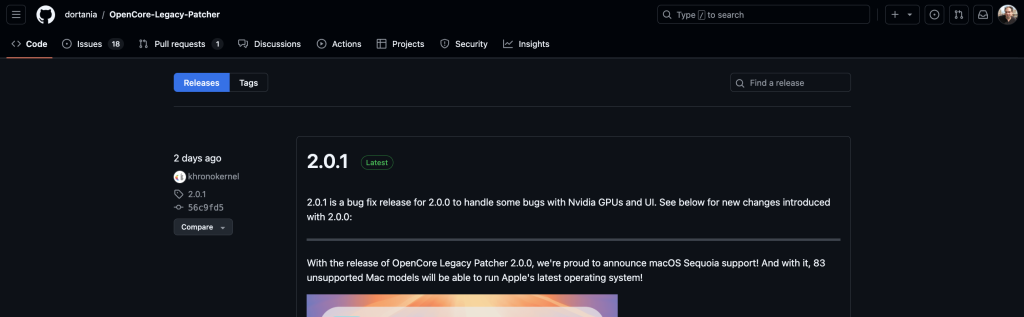
During the creation of this post, as you can see in the above screenshot, version 2.0.1 just got released. If a newer release would be available, I would recommend to use that one. Scroll down to the bottom of the release notes for the latest version, and in the assets section, download the OpenCore-Patcher_GUI.app.zip file:
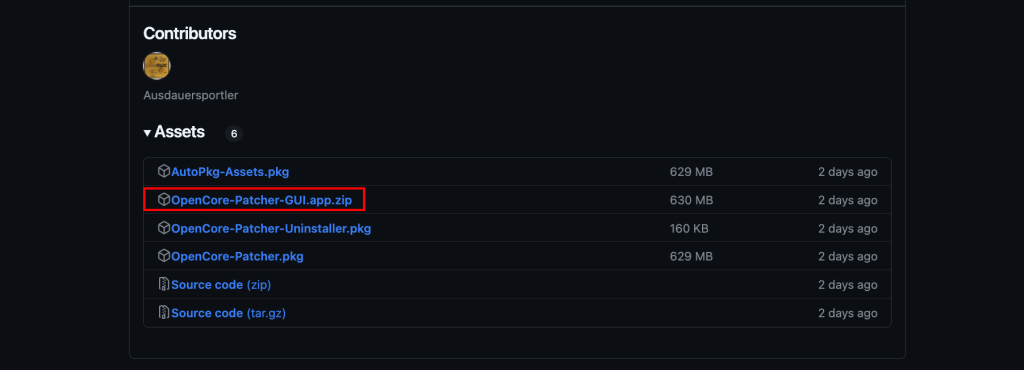
Once downloaded, go to your Downloads folder and start the application:

Confirm you want to open it and enter your user’s password to install some additional components when asked.
Model-specific installer
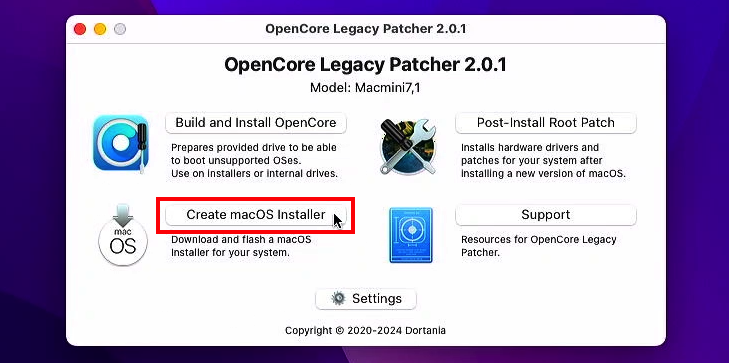
In OpenCore Legacy patcher, you can see that the model of this machine, Macmini7,1 was automatically selected:
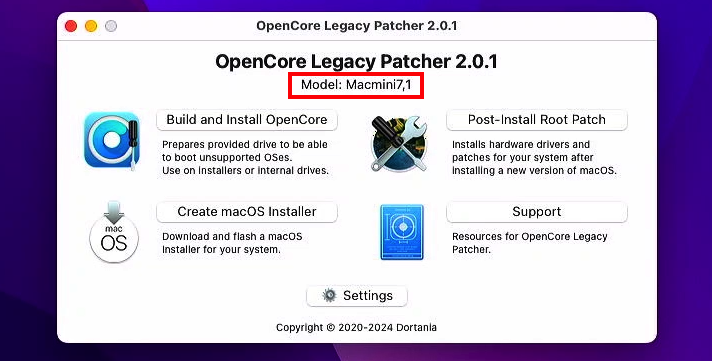
The USB drive which we will be preparing will be model-specific so in case you would like to prepare a USB installer for a different machine then the one you use to create it, go to Settings and change the target model to the one of the machine you are creating the drive for:
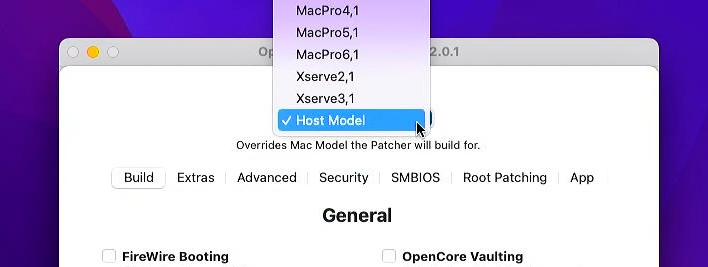
In our case, I’m creating the drive on the same machine as where I will be installing Sequoia so we can leave this as Host model.
Download macOS Sequoia installer
The next step is to download the installation files for the new macOS version with OCLP so let’s click on “Create macOS installer”:
Then choose “Download macOS installer”, make sure macOS Sequoia is selected in the list, then click Download:
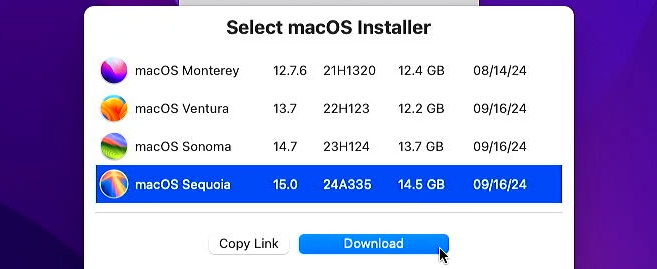
The download is roughly 14 to 15GB in size so it can take some time before it is complete. Once the installer is downloaded, it will also be verified and extracted, which takes some time as well.
Create bootable macOS Sequoia installer
When the download, verification and extraction is complete, OCLP will ask you if you now want to use this downloaded installer to create a USB drive:
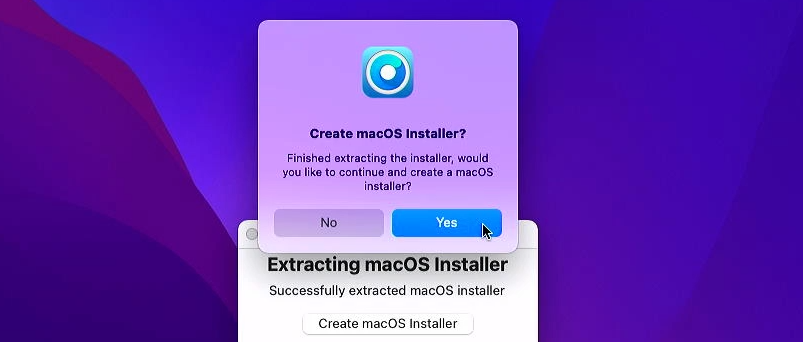
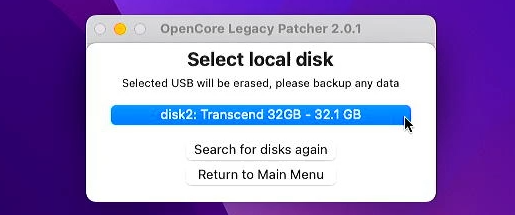
Let’s choose Yes here and then we need pick that installer, which we just downloaded and choose for our USB drive in the next list:
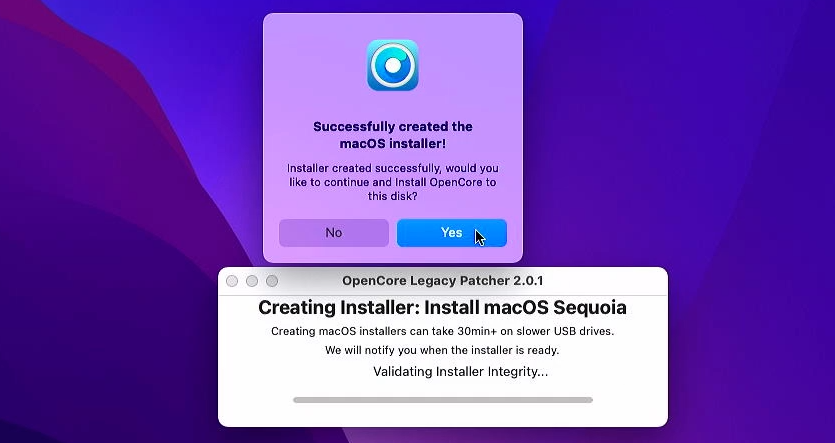
After choosing your USB drive from the list, all data from the installer is being copied over to the USB drive. Once again this might take a while, depending on the write speed of that drive. And as with the download if the installer, after everything is copied, there will also be an integrity check on the data.
Build and install OpenCore to the USB drive
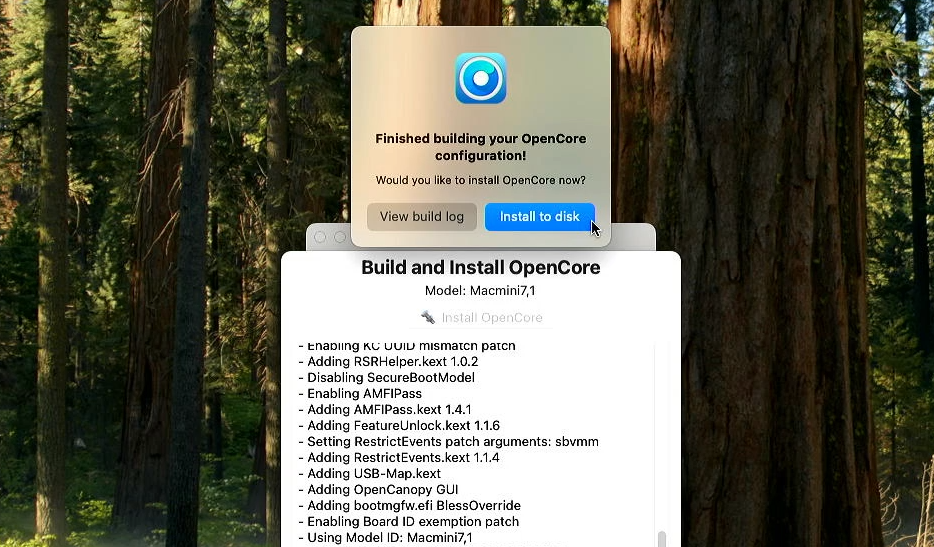
Once all data is copied over and seems fine, it’s time to build and install OpenCore to the USB drive as well. OCLP will ask if you want to do this:
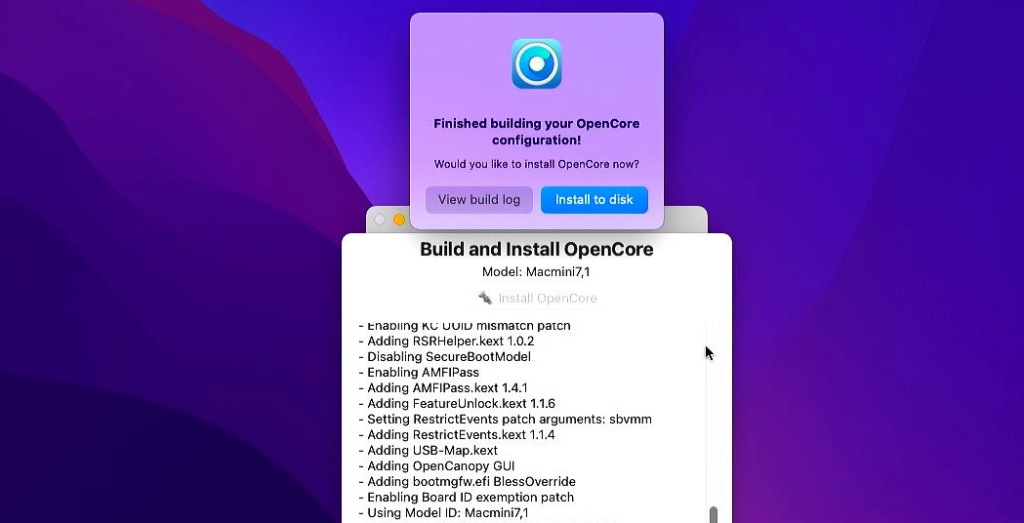
Let’s click yes here to continue, which will immediately trigger the process to build OpenCore. This doesn’t take long. Once completed we can install it to disk:
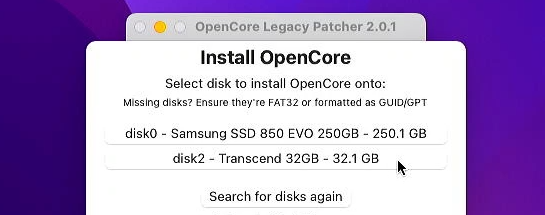
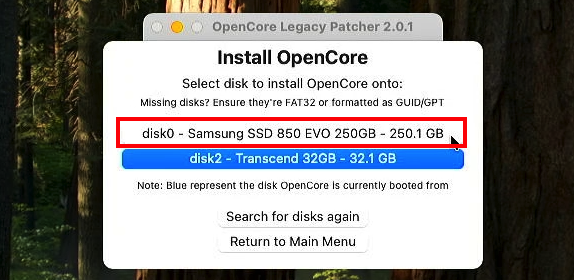
After clicking on “Install to disk”, make sure to select the USB drive in the list and not the internal drive of the machine:
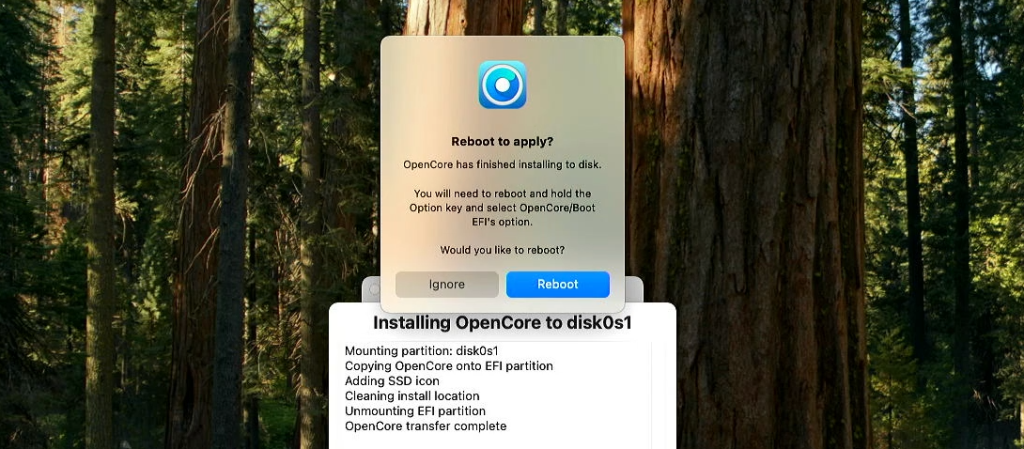
After choosing the USB drive, select the EFI partition in the next step and wait for the files to get copied:
Step 2) Install macOS Sequoia
At this point, the USB drive is fully prepared for our system. It has the installation files for macOS Sequoia and OpenCore is installed on it as well. This means we can now boot from the USB drive in order to launch the installation.
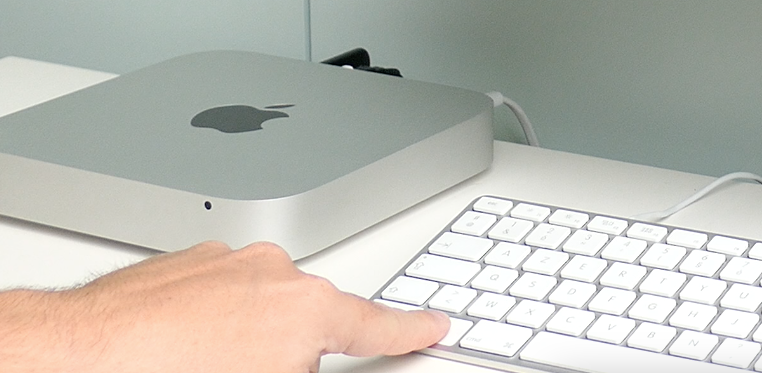
Boot from the USB drive
In order to force the system to boot from the USB drive, as OCLP instructs in the above screenshot as wel, let’s reboot the system while holding down the Alt or Option key:
By holding that key, when booting, the system will show us the native Apple bootloader first, which after a few seconds, should show the contents of the USB drive as well. This shows us 3 options:
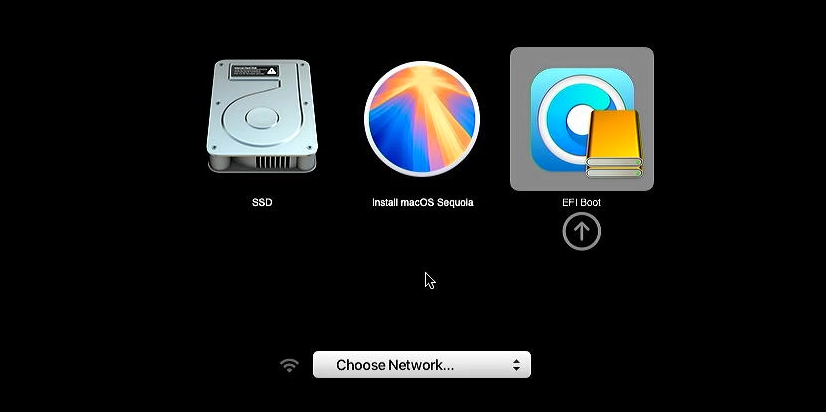
Left is our current installation of Monterey, the middle entry is to directly start the Sequoia installer but this will not work as our system is not officially supported and the 3rd option is to start OpenCore from the USB drive. This is what we need to select. After selecting the EFI Boot option (on the right side in the above screenshot), the next screen looks very similar as the native bootloader but, make no mistake, this is OpenCore instead

From OpenCore we have the same current installation on the left and a 2nd option to install macOS Sequoia. That is what we need so let’s select this one this time.
After selecting it, this should launch the Sequoia installer from the USB drive and you will end up in recovery:
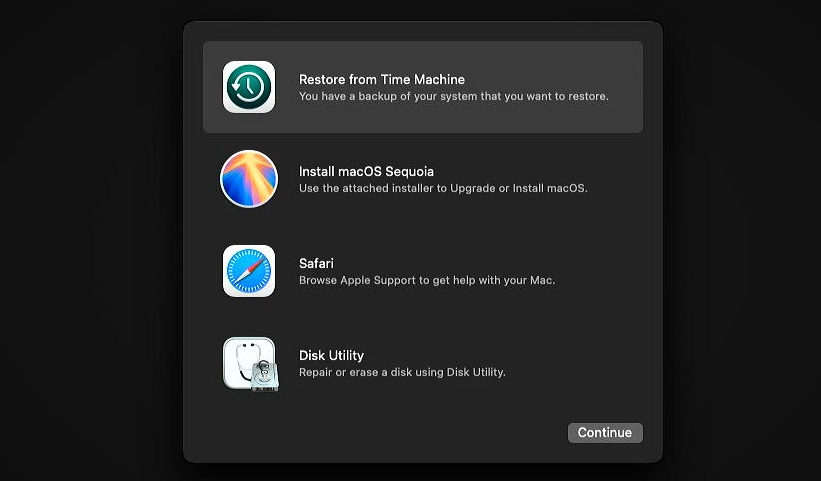
Prepare the internal drive for macOS Sequoia
Now that we are in Recovery for Sequoia, there are several options to proceed
- Option 1) Upgrade the current installation of macOS to Sequoia.
- Option 2) Dual boot which means you will have both the currently installed macOS version next to the new macOS sequoia
- Option 3) Clean installation that uses the whole drive
For option 1 we do not need any further preparation with Disk Utility and can just select the existing volume with Monterey on it in the next step. For option 2 and 3, we will first need to make some preparations so we will first need to start Disk Utility.
In disk utility, let’s go to View, then “Show all devices” again:
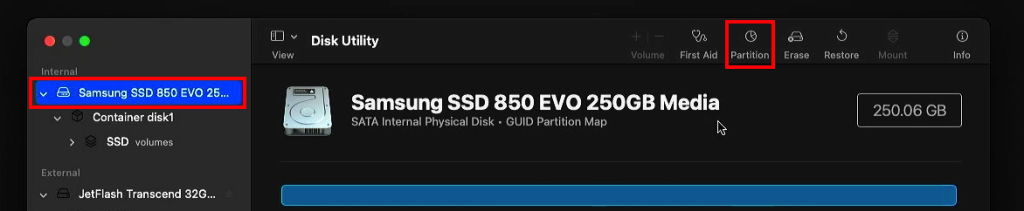
For option 2, to create a dual boot installation, select the internal drive on the left side and click on partition:
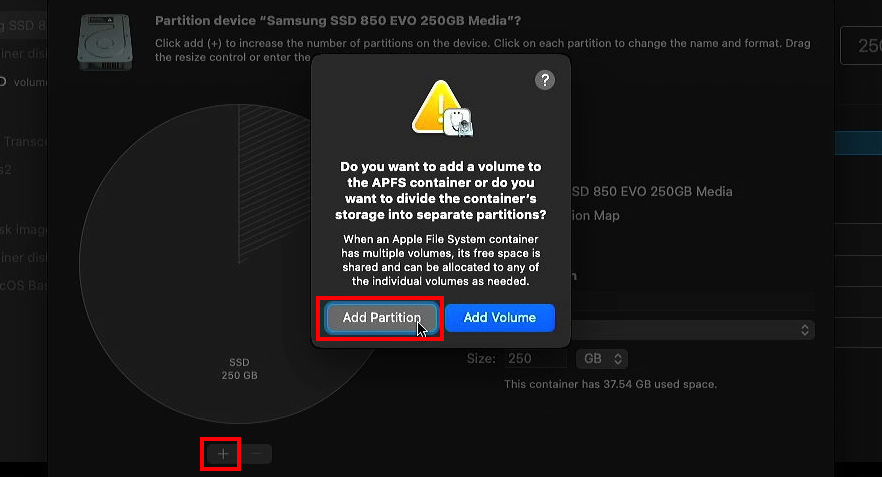
Click the +-sign on the bottom here and then choose “Add Partition”:
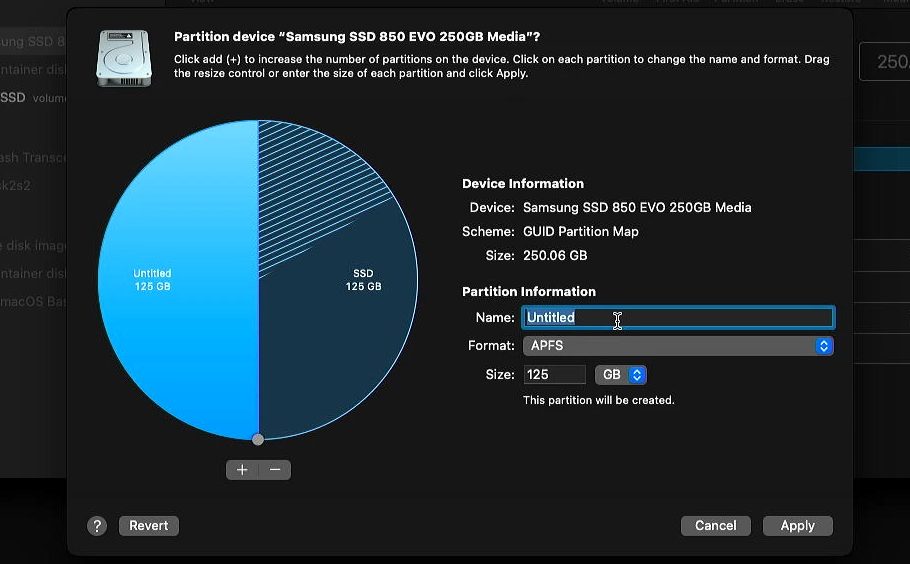
Next you can resize the partition to divide the space between the two volumes and give that partition a proper name as well, then click Apply:
I will not go for a dual boot but instead I will go for option 3, a clean installation.
For option 3 , in Disk Utility, make sure the internal drive is selected on the left side, and then we need to click Erase. Then give the volume a name, choose for APFS as format and GUID as partition scheme:
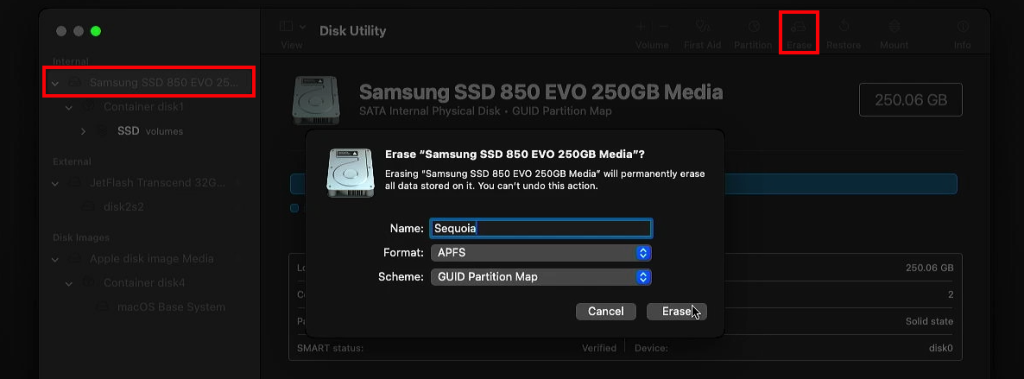
Once this process completes, our internal drive is prepared and we can close Disk Utility.
Install macOS Sequoia
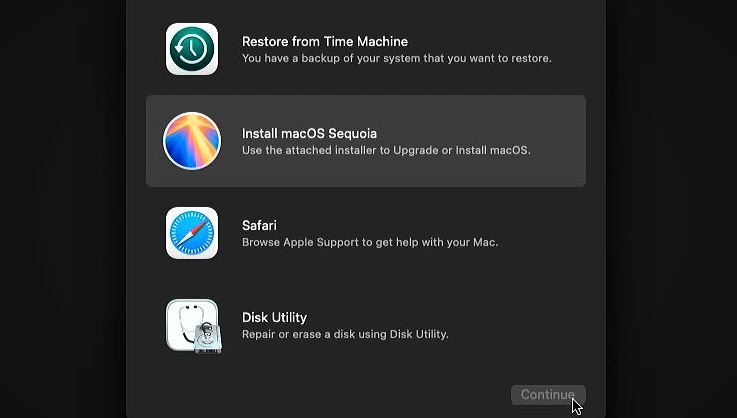
Now that our drive is properly prepared or you decided to go for an upgrade, we can choose for “Install macOS Sequoia” from the menu and continue:
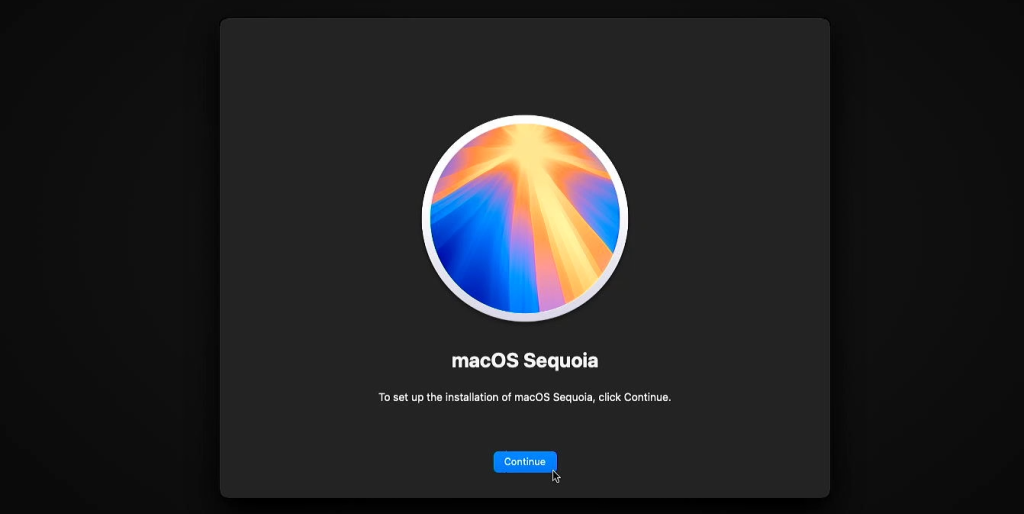
In the next screen, click Continue to start the installation:
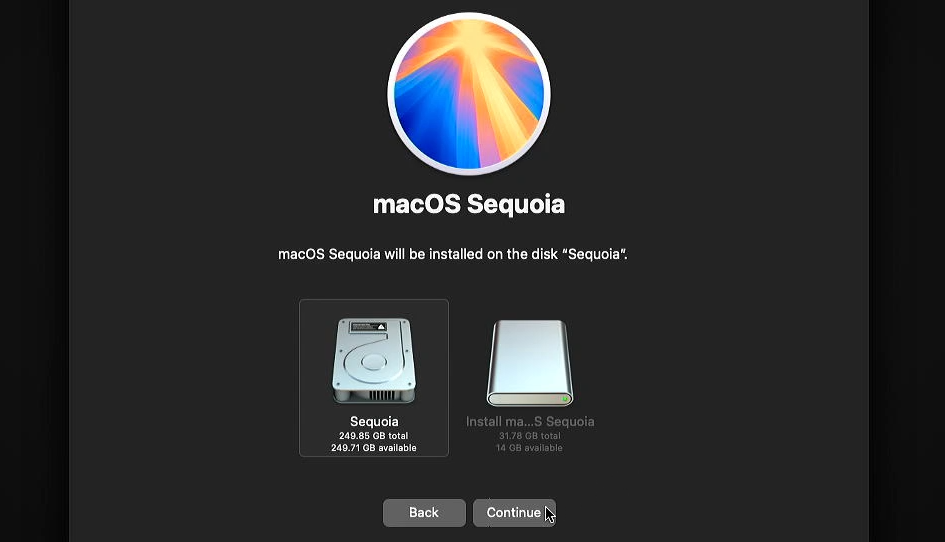
Agree to the license agreement and eventually you need to select where to install Sequoia.
- For option 1, to upgrade, select your current volume here
- For option 2, the dual boot, select the newly created volume by using the name you gave it in the previous step
- For option 3, which I will go for, we need to select the volume with the name we just created:
And, as you can probably guess, we are in for another bit of waiting time:
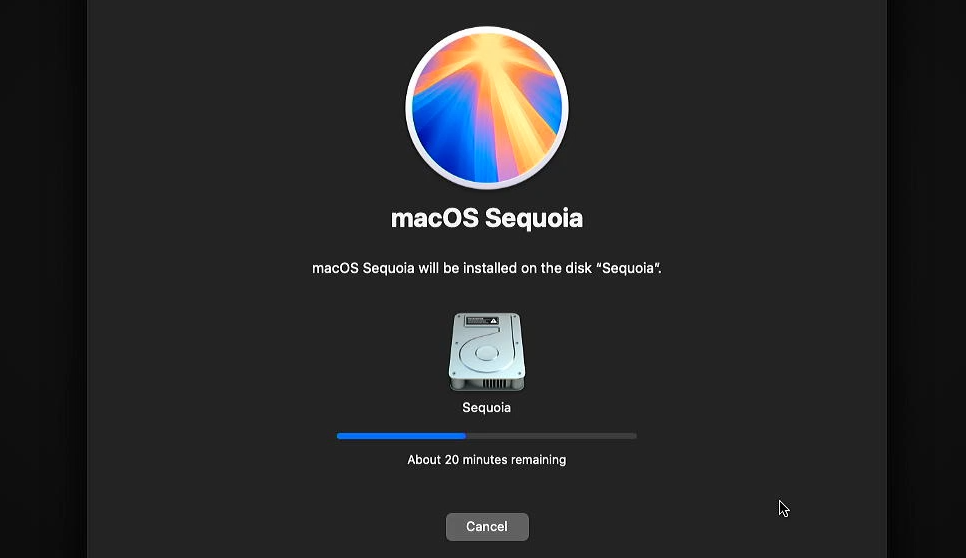
At this stage macOS will get installed on our Mac and files are being copied from the USB drive to the internal drive.
If all goes well, several reboots later, and as soon as the installation is finished, you will end up in the initial setup dialog:
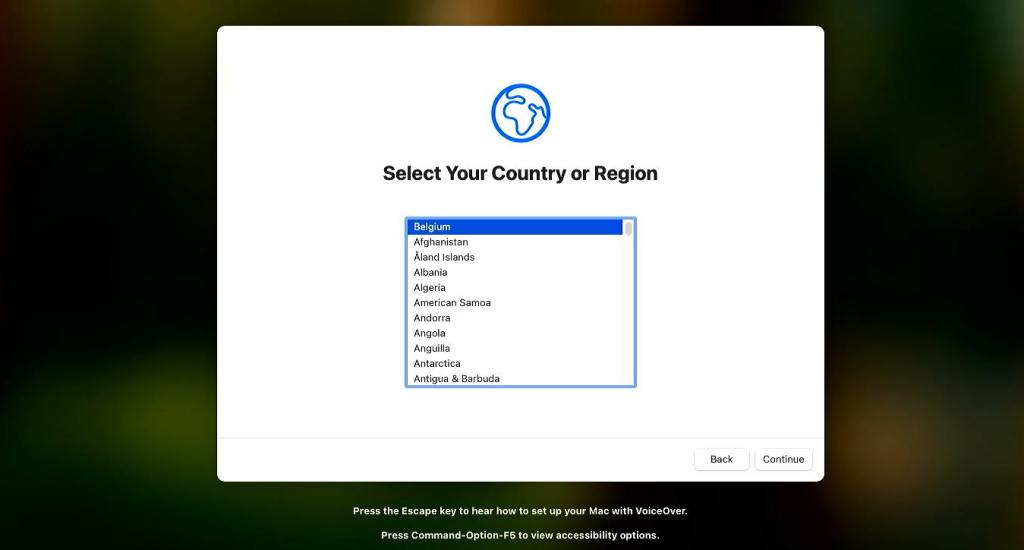
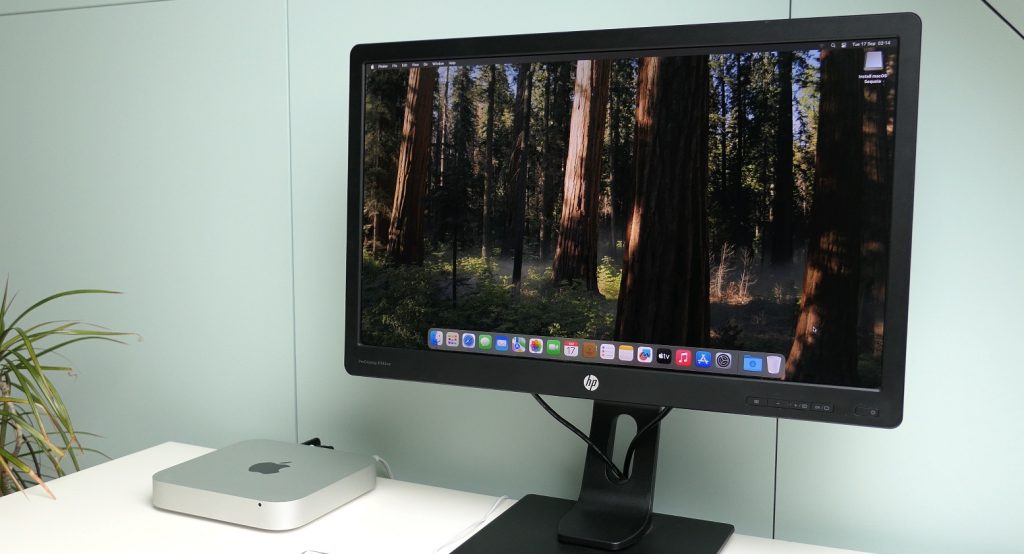
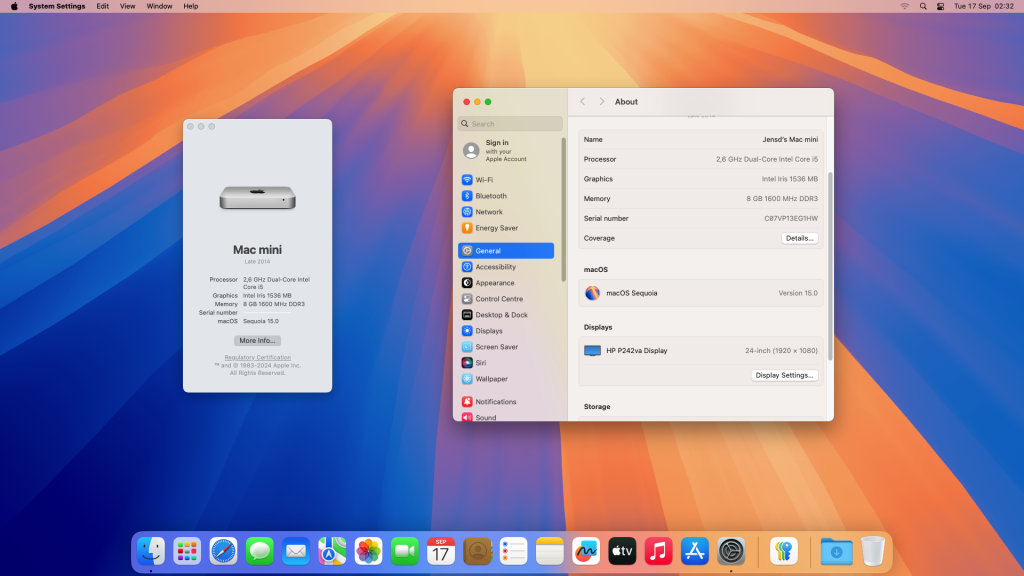
You can simply run through the questions here to configure things like your location, keyboard layout, a user account, setting the time zone and so on. Eventually you will be greeted by a Welcome to Mac banner where we can click continue and we get to see the MacOS Sequoia desktop for the first time on our unsupported machine that is about 10 years old now:
Step 3) Post-installation tasks
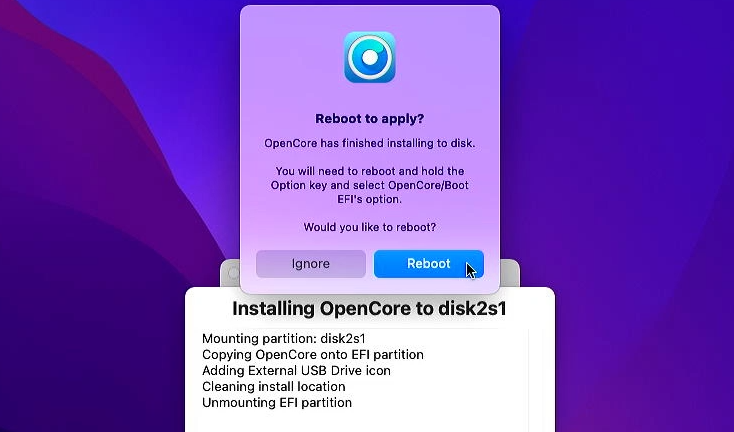
Install OpenCore to the internal drive
Although we got Sequoia running on our machine now, we’re not fully done yet. Right now we are still booting the system by starting OpenCore from the USB drive. This means that if we would try to reboot without the USB drive in there, macOS would not start. So to fix this, as OCLP is telling us already by itself actually, we will need to get OpenCore installed on that internal drive instead:
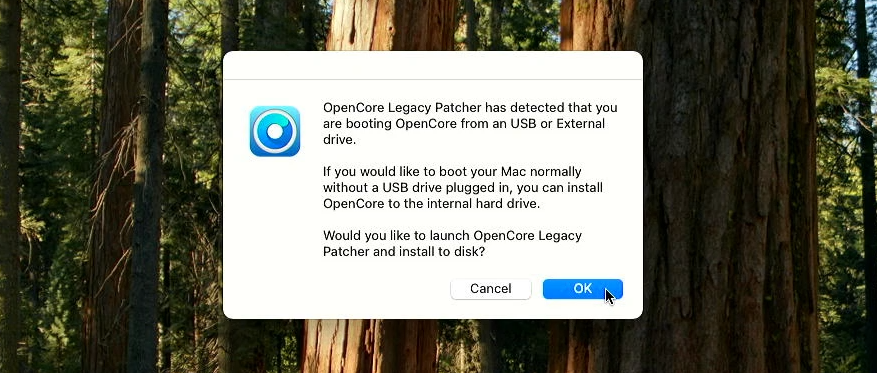
Let’s click OK here to continue. This will build OpenCore again and then we also need to get it installed to disk, just as we saw before:
Click “Install to disk” and In the dialog to select where to install OpenCore, we can see that we’re currently using it from the USB drive, marked in blue, but this time we need to select our internal drive as destination instead:
Once everything is copied in the right place, you can eject the USB drive, remove it from your Mac and then we proceed with the reboot:
If all goes well, you should see the OpenCore bootloader briefly and it should automatically continue to boot to macOS Sequoia.
Verify if OCLP post-install root patches are applied
One last thing that is worth check is to see if the OCLP root patches were correctly applied. As we’ve used OCLP to install macOS, there is a handy link to the tool created in your Applications folder automatically:
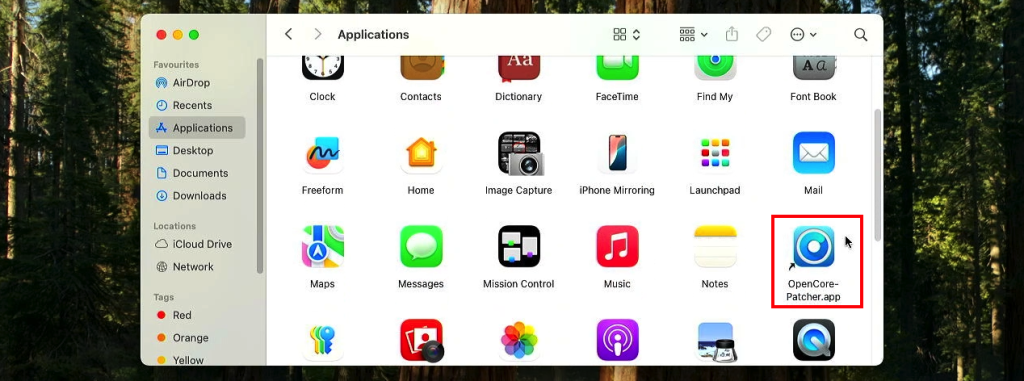
Launch it from here and click on “Post-Install Root Patch:
And as you can see in the below screenshot, we have: “All applicable patches already installed”:
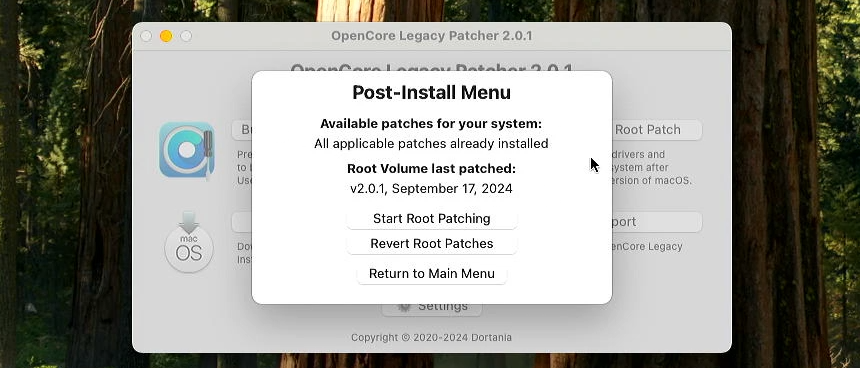
This means that everything is exactly as we want it to be and we can start to enjoy macOS Sequoia!
Conclusion
All in all, despite this being a relatively old and espceially pretty bad performing Apple machine, even when it was new, performance seems to be pretty good so far. Applications or tools seem to open quickly, the graphics feel snappy and overall, I don’t feel any slowdown in comparison with older macOS versions on this hardware.
Hopefully this post can help you as well to extend the life of your beloved Apple Mac hardware.
Hallo Jens,
Thank you for your excellent OCLP Sequoia guide!
I just did my first clean OS install on my modified 2010 iMac (after some problems) in 15 years (!!!) using your guide.
Thank you/ dank je wel,
Paul Wolters, Nederland
Mac OS is wonderfull User interface and user experience
Good Information
Regards, Unissula
Hi Jens. Just tried to install this on my 2017 MacBook Pro running Ventura.
Downloaded the latest release and when trying to install I get a message saying it is for models running MacOs 11,2.
Downloaded the release in this video and it’s saying the same thing.
Any help?
Ps. Have used your videos before both for MacOs and Windows and they’re always great!
Thanks
Rashied from NY.
Have tried to install Sequoia on Mac-Mini, two different versions, finished the download stage and on separate occasions error message stating installer was corrupted advice please
Thanks
Stewart