When talking about running a VM on a Mac, most of the times people assume you will be running Windows but it’s perfectly possible to run macOS virtually as well. This allows you to run different separate macOS instances, on different versions if you like, independently from the natively installed macOS on your machine. This allows for some experimenting with different versions or playing around without the risk of breaking your own macOS instance. In this article, I will explain how to get this going when you’re have a Silicon-based Mac, using UTM.
YouTube Video
If you are interested, I also created a YouTube video from this blogpost. If you prefer classic text, you can just follow the rest of this article:
Introduction
Before we go into how to do this in practice, I would first like to provide some background information on using UTM to virtualize macOS and explain some of the limitations as well.
UTM is a free, open-source, piece of software that allows you to run virtual machines. It was specifically built for Macs and allows to run VMs either in the same CPU architecture or by emulating another CPU architecture. Now, the concept of running virtual machines is definitely not new and also running macOS in a virtual machine isn’t something that was not possible before. There are also several alternatives for UTM out on the market, although, when using an Apple silicon-based machine, so with a M1, M2, M3 chip and so on, your choice might be limited.
Originally, UTM was using QEMU in the background for its virtualization and emulation, which is one of the most popular ways to do it. Over the time, Apple introduced its own extensions for virtualization, natively in the operating system. These are called the hypervisor.framework and virtualization.framework. The advantage of these is that they require less overhead and they can take advantage of things like hardware-acceleration and Rosetta2 emulation for example:
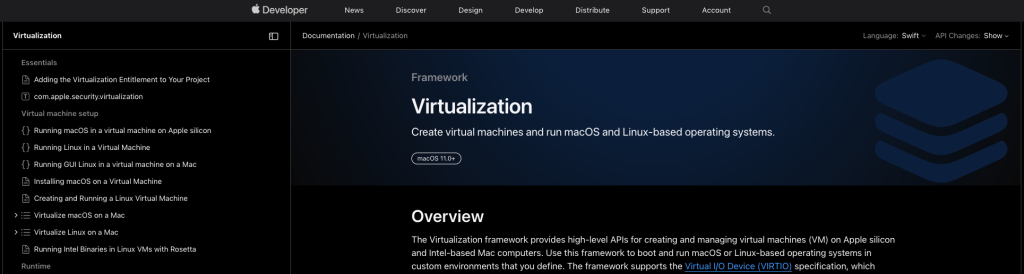
The support for the Virtualization.framework, was added by Apple to macOS 11 or Big Sur. This framework allows virtualizing Linux guests and, that’s what we are interested in here for this article, also supports macOS guests!
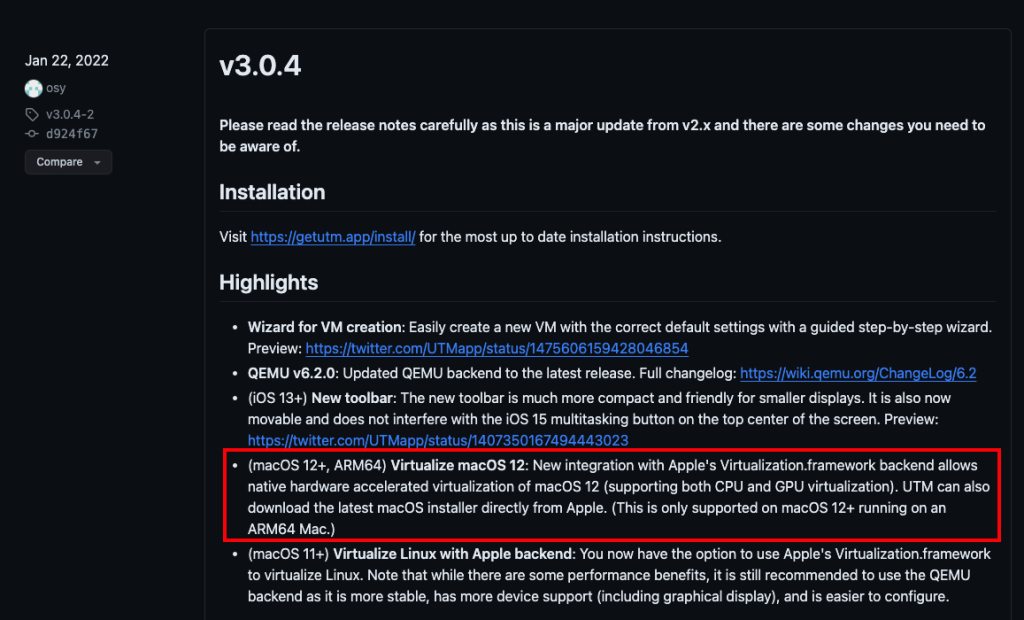
UTM 3.0 implemented this framework eventually. The requirements to use this for virtualizing macOS, is that you are using an ARM64-based machine, so a Silicon-based Mac, and that you are on macOS 12, Monterey, or later:
To be clear, this all does not mean that it is not possible to run macOS in a VM on an Intel-based machine. Just not with UTM and not fully using the Apple integration. In the following article, I explain and show the options to do the same, so run macOS in a virtual machine on Intel-based machines as well.
Step 1) Install UTM
On my machine, which is an M1-based MacBook Air, I’m running the currently latest version of macOS, which is Sonoma or version 14. So the requirements to continue with UTM (arm64-based machine and macOS v12+) are met.
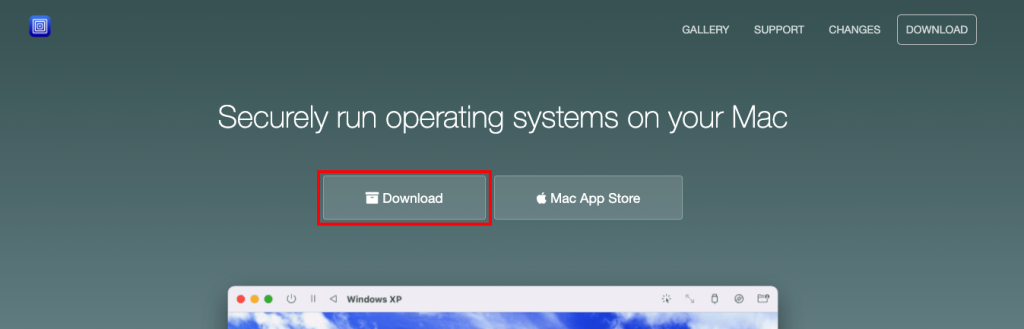
The first thing we need to do, is to install UTM. Simply go to UTM’s website: https://mac.getutm.app/ and click on Download:
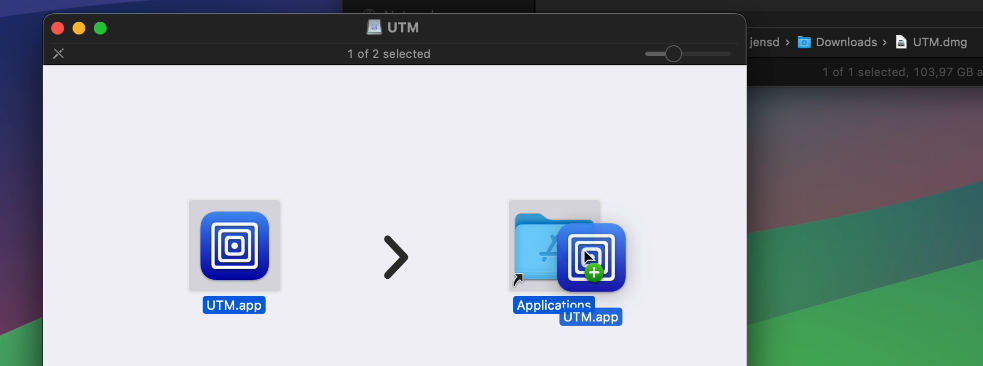
Once UTM is downloaded, go to your Downloads folder, double-click on the UTM.dmg file and drag the UTM.app into your Applications folder:
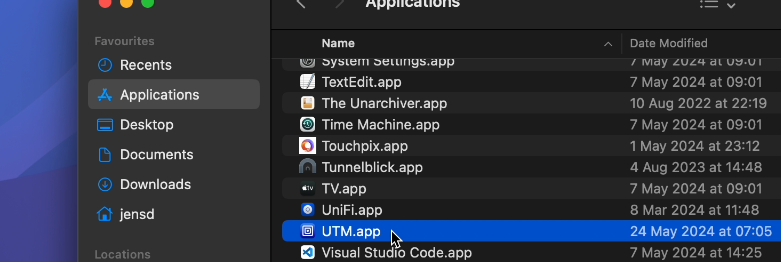
That’s it, now we can start UTM from that same Applications folder and confirm that we want to open it:
Step 2) Create and install macOS to a Virtual Machine
Now that we have UTM installed, the next step is to create the actual virtual machine with macOS. This is pretty easy, at least if you want the latest and greatest version of maOS.
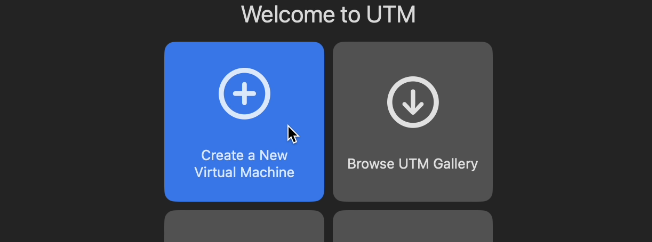
In UTM, click on Create a new virtual machine:
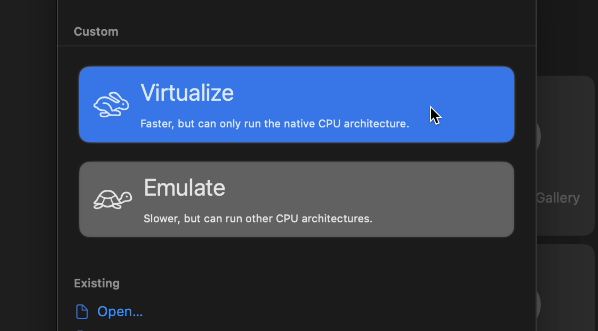
Select to virtualize, as we want to use the same CPU architecture of our Mac (64 bit ARM) and do not want to emulate another architecture:
Next, we need to select which operating system we want to install on the VM. Here we need to, obviously, choose for “macOS 12+”:

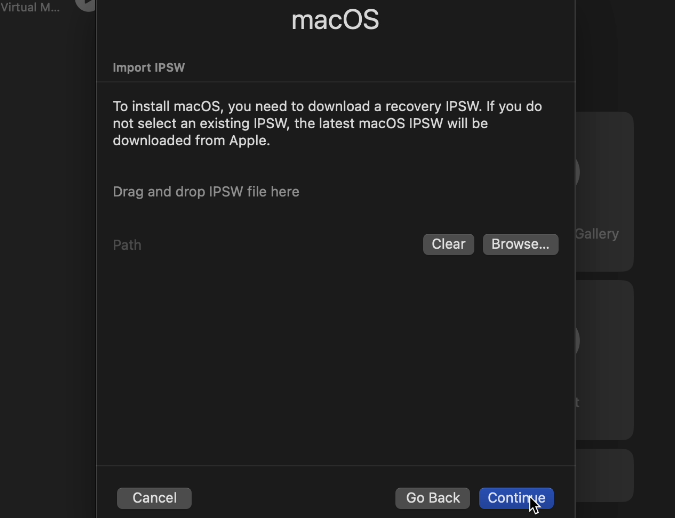
In the next step you can choose a specific IPSW-file. Apple distributes macOS software in this file format. Originally this stands for iPhone software but recently it is also used to distribute macOS.
If we do not select anything here, UTM will download the latest compatible macOS automatically. Instead, f you like, for example to run a specific macOS version, newer or older than the latest, You can also download IPSWs from other websites like ipsw.me or Mr. Macintosh. See here for more information on that.
I will just leave this empty for now and will let UTM download the image for me:
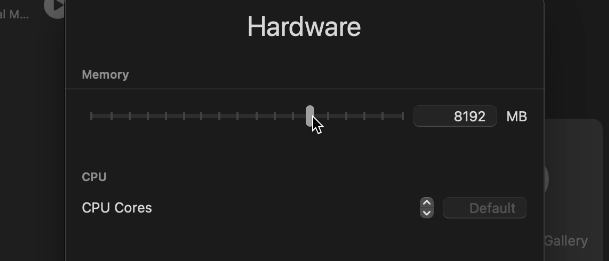
In the next screens we need to choose how much memory we want to give to this virtual machine and how large the disk image should be. I chose to give it 8GB of RAM as lower tends to really slow things down:
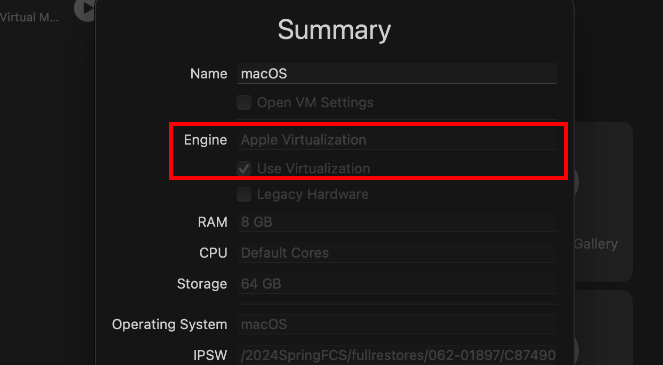
The last step before UTM will download the files is a summary. Here we have a confirmation that UTM will make use of Apple’s virtualization API rather than using QEMU in the background:
Click Save to continue with the VM creation. UTM will automatically start to download that latest IPSW file from Apple. In my case, the download took roughly 5 minutes:

Once the download completes, you will see a new VM in the list in UTM with an Apple logo:

Now to actually perform the installation, which is fully automated as well, we simply need to start the VM and confirm that we want to start the installation:

You can follow the progress on top of the VM’s windows:

After waiting another 5 minutes, if all goes well, you should see the initial setup wizard of macOS. Simply answer the questions regarding region, language, keyboard and creating a user account:

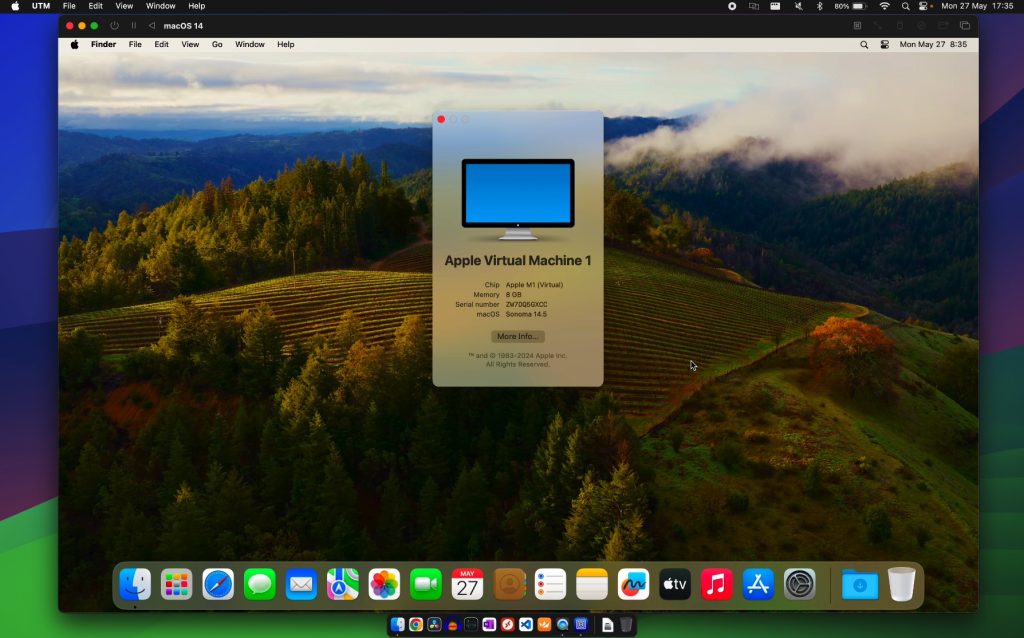
Eventually you should end up on the desktop of your newly created macOS virtual machine. As you can see, it is running the latest version of macOS (at the time of writing): 14.5 and everything looks pretty good:
From here on, you can go an play around with the virtual machine. You can install applications, change system settings, reboot the VM and do whatever you can do on a natively installed macOS.
If desired you can also even clone the VM for easy recovery if you want to try something out that could potentially break the OS or render the machine unbootable.
Performance
Running macOS in a VM obviously comes with a performance penalty in comparison with running it natively. Just to give you an idea how big this impact is, I ran multiple tests on both macOS Sonoma that was installed natively on my M1-based Macbook Air and the same version of the OS running on top of a UTM virtual machine.
CPU
To test CPU performance, I ran the CPU benchmark in both GeekBench 5 and 6. These were the results respectively:


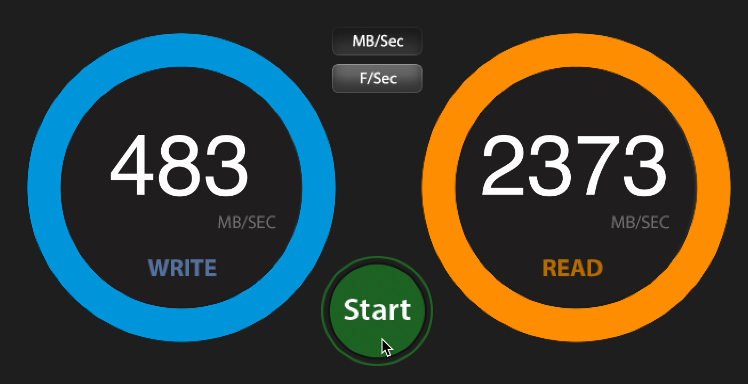
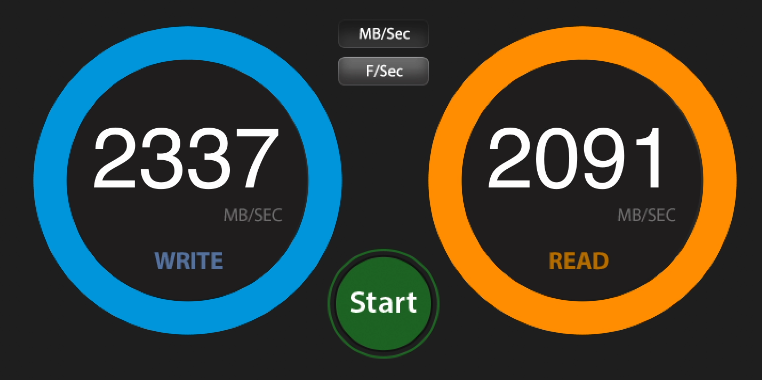
Disk
For disk performance, I used AJA System Test and got the following results.
For the virtual machine:
On the natively installed macOS:
Compute
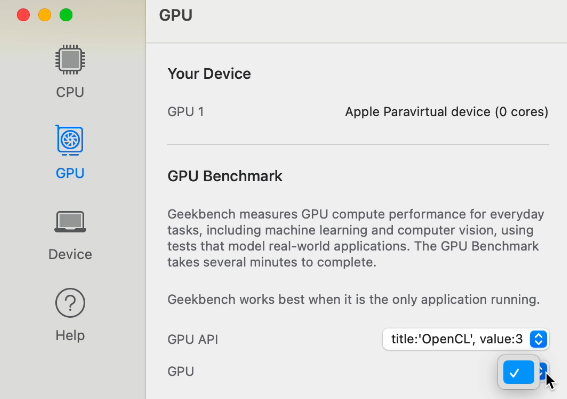
Unfortunately, and this is probably the biggest negative side here, it is not possible to use any of the compute engines in the virtual machine. This means that things like video editing or other tasks that rely on having a GPU or require OpenCL or Metal support most likely won’t work or perform poorly:
Conclusion
As you can see in the above results, and will also notice if you would give this a try yourself, performance is actually very good. Sure, there is a small penalty here and there due to the overhead of the virtualization but with the scores listed above, everything still feels very snappy and fluent. If you run the VM maximized on the screen, you would need to do your best to notice that it not running directly on real hardware.
Extras
Sharing files between the host and guest machines
When playing around with VMs, you will sooner than later end up in the situation where you want to copy files between the host machine (running macOS natively) and the virtual machine, also called guest. UTM has the ability to create shared folders which allow you to easily transfer files back and forth.
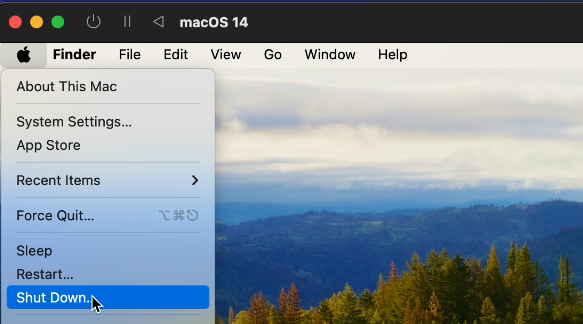
To use the feature, first shut down the virtual machine:
Once it has shut down, in the UTM main window, locate your VM, right click on it and choose Edit:

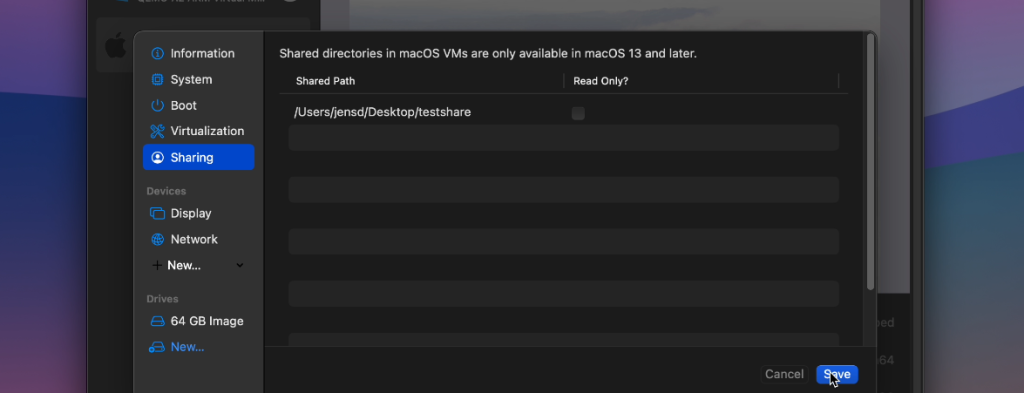
In the VM’s settings, navigate to the Sharing option on the left side:

Scroll down in the window and add a folder to be shared with the VM:
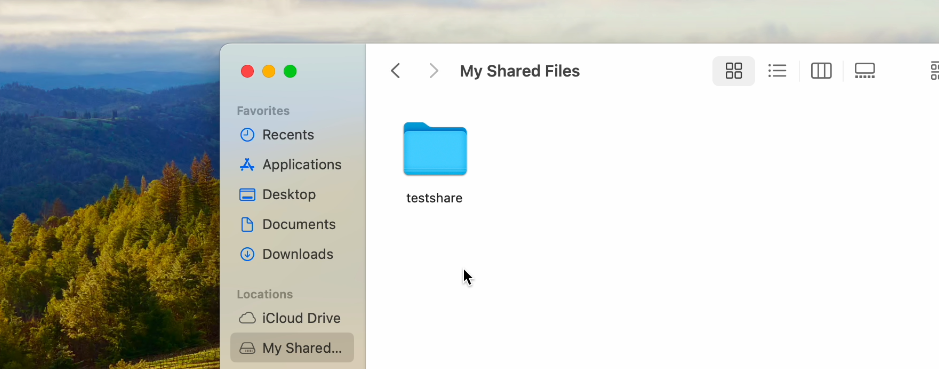
After starting the virtual machine again, you will find a new location: “My Shared Files” which will list the folder you have selected on the host machine. Any files that are in there or get moved/copied in there will be available from both the guest and host machines:
Running a specific macOS version in a VM
So far in this article, we’ve let UTM download the latest macOS version available from Apple. This is an easy and safe choice but maybe doesn’t suit your needs. In a case you want to run a specific version of macOS, you will need to search for an IPSW-file, that contains the version or specifics that you are looking for.
There are several sources for these files available and I believe the two most popular ones are IPSW.me: https://ipsw.me/product/Mac, which lists different variants of macOS versions which might not be fully unmodified:

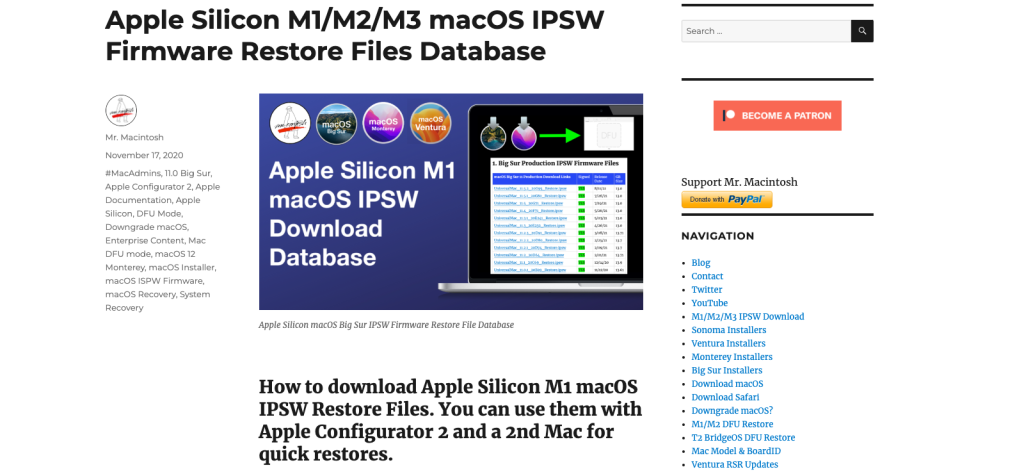
Another known source is Mr. Macintosh’s IPSW Firmware Restore Files Database: https://mrmacintosh.com/apple-silicon-m1-full-macos-restore-ipsw-firmware-files-database/ These versions should be the official Apple-based versions:
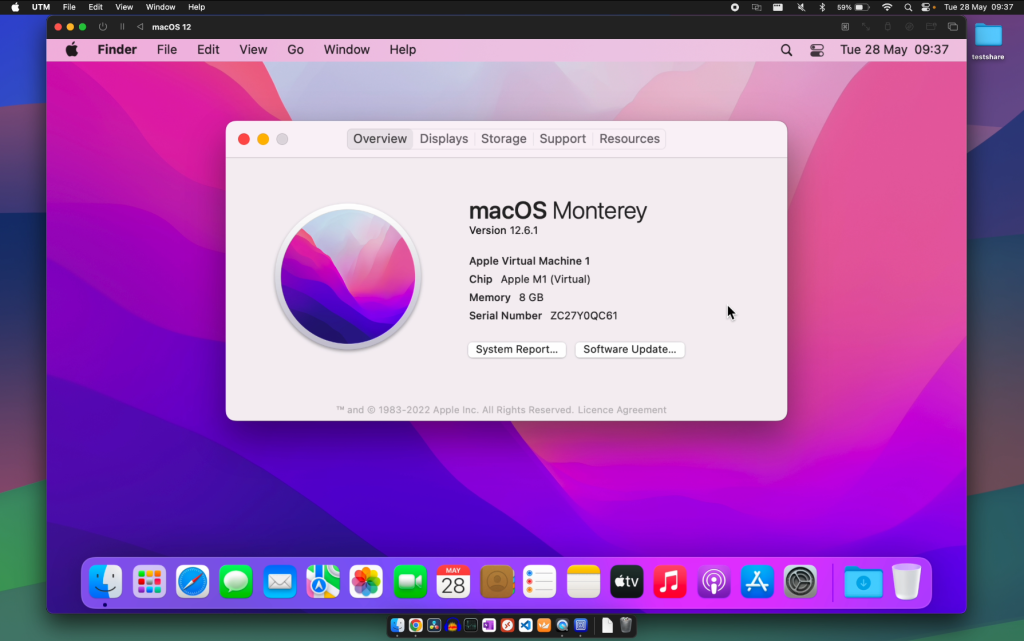
The process to use one of these files is very similar as the process to use the latest version as I have explained above. The only difference is that you first need to download the IPSW file of choice from one of the above websites (or from another choice), for example, I downloaded an IPSW file for Monterey from Mr. Macintosh: UniversalMac_12.6.1_21G217_Restore.ipsw:

Then, when creating a new virtual machine, you can provide that downloaded IPSW-file to UTM:

The rest of the process is exactly the same. Once the VM has been created, you can just start it, which will install macOS from the specific IPSW you have selected, followed by the virtual machine booting into the newly installed macOS version of choice: