
Running a virtual machine on an Intel-based Mac is a very common thing. But typically, people would be running Windows or Linux on their x86-based Mac. It is perfectly possible to virtualize macOS as well. This allows for some experimenting with different versions or playing around without the risk of breaking your own macOS instance. In this article, I will explain how to get macOS Sonoma up and running in a VM when you’re have an Intel-based Mac, by using VMware Fusion.
YouTube Video
If you are interested, I also created a YouTube video from this blogpost. If you prefer classic text, you can just follow the rest of this article:
Introduction
In the previous article that I posted here, I covered a very similar thing: running macOS in a virtual machine on a Silicon-based Mac using UTM. While you can also use UTM on Intel-based Macs, it is in that case, unfortunately, not possible to use it to run macOS under a virtual machine. So in order to get this to work if you are still using x86-based Apple hardware, we need to use another hypervisor to accomplish the same. For this article, I will use the free version of VMware Fusion.
There are multiple alternatives for this software, like Parallels, VMware Workstation or VirtualBox. While I’m sure there is also a way to do this with these, VMware Fusion is free for personal use and should be one of the better performing pieces of virtualuzation software, hence why I chose for this option:
Obviously, if you are no longer using an Intel-based machine but are using an M1, M2, M3,… -based machine, you can refer to the previous article that I mentioned in the beginning, which you can find here.
And if you got here and are looking for a way to virtualize macOS on a Windows-based machine, I do plan to look into that as well soon.
Step 1) Download and Install VMware Fusion
Before we can get started, we need to download and install VMware Fusion from Broadcom, which recently acquired VMware. You can do this from the following link: https://support.broadcom.com/group/ecx/productdownloads?subfamily=VMware+Fusion
Get a Broadcom account
Before you are able to proceed to the download, you need to login with a Broadcom account:
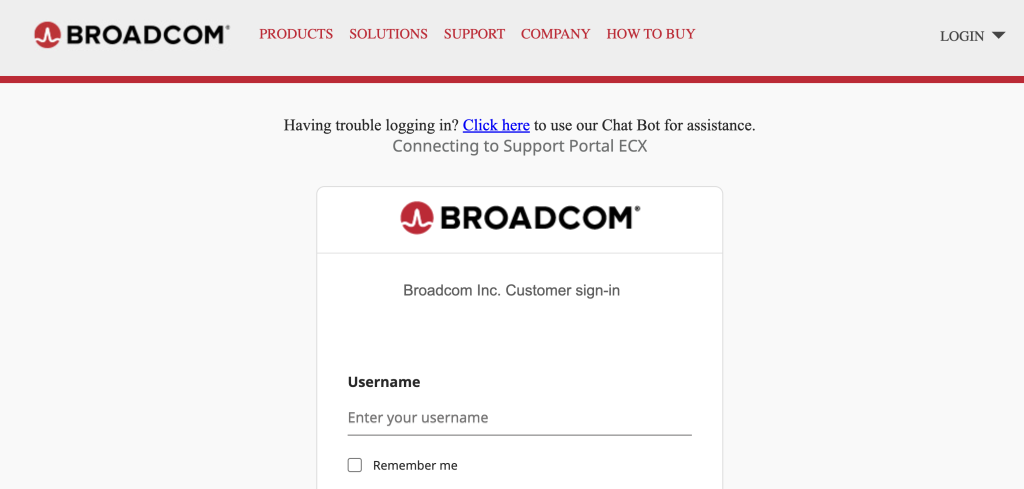
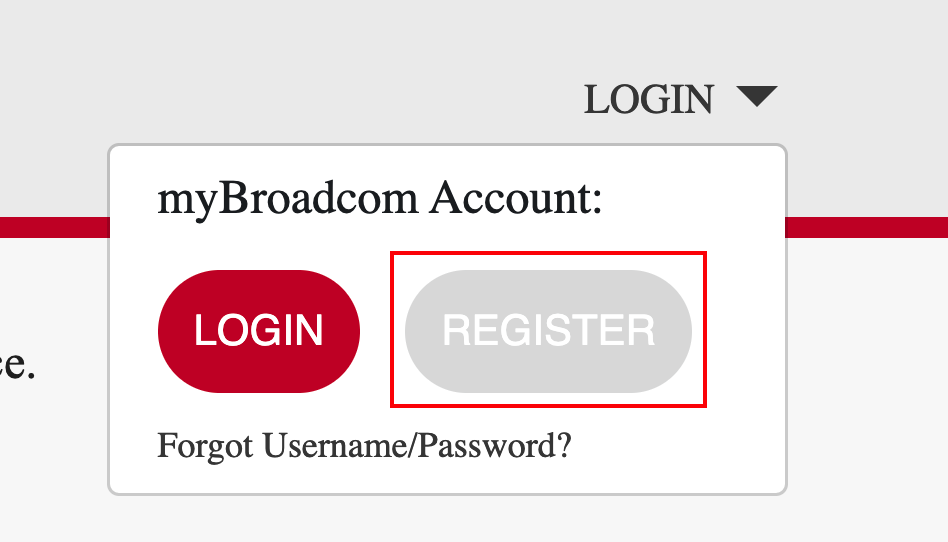
If you do not have a Broadcom account yet, you need to create one before you are able to download anything here. If you have one already, you can proceed to the next part (Download VMware Fusion) and login. To register instead, click on the login button top right and click on Register:
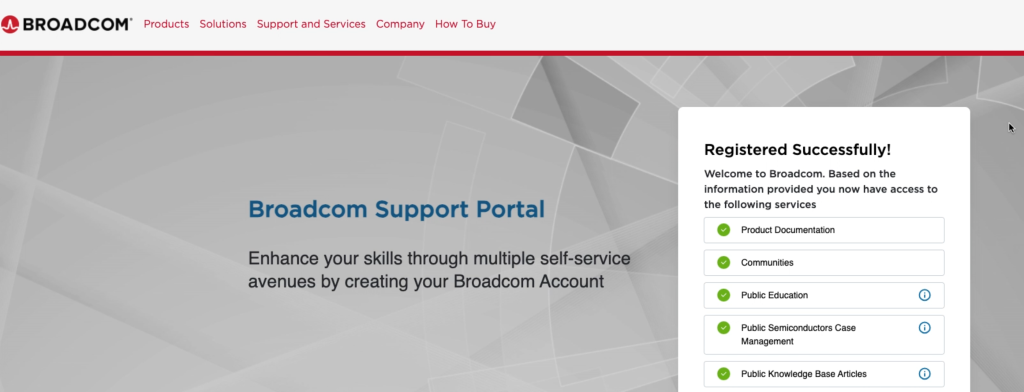
Go through the steps here by first entering the code sent to your email-address, followed by your details. If all goes well, you should end up as follows:
Download VMware Fusion
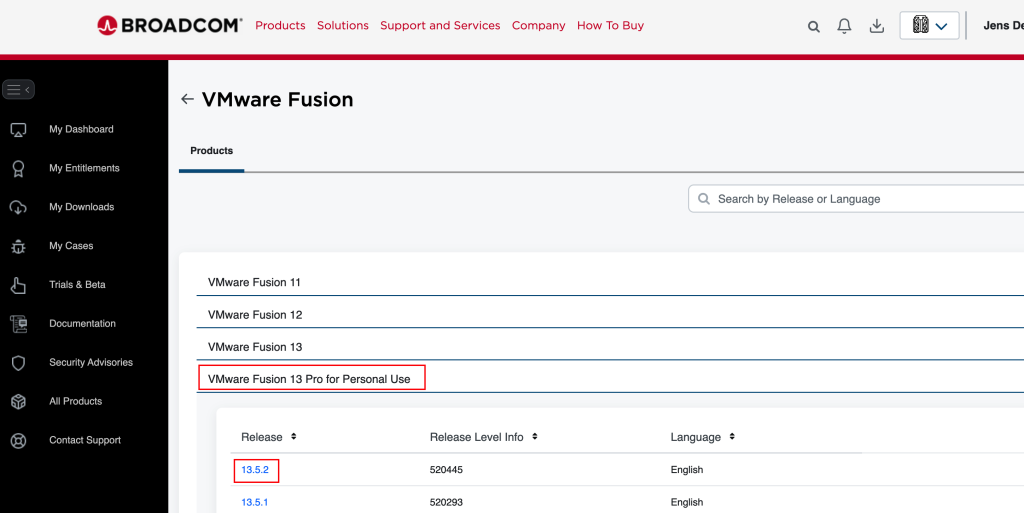
Once you have an account and successfully registered, re-click the link which I provided above: https://support.broadcom.com/group/ecx/productdownloads?subfamily=VMware+Fusion and log in when asked. In the selection, choose for “VMware Fusion 13 Pro for Personal Use and click on the latest release that is available:
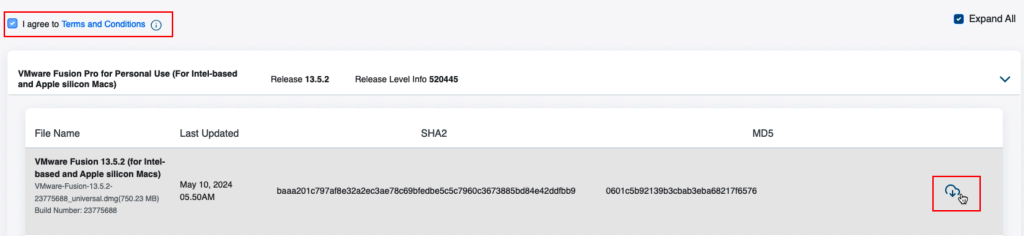
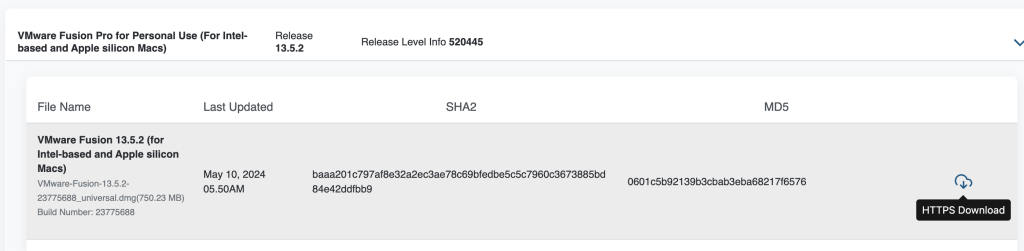
On the next page, first agree to the terms and conditions, then click the download button right from the software in the list:
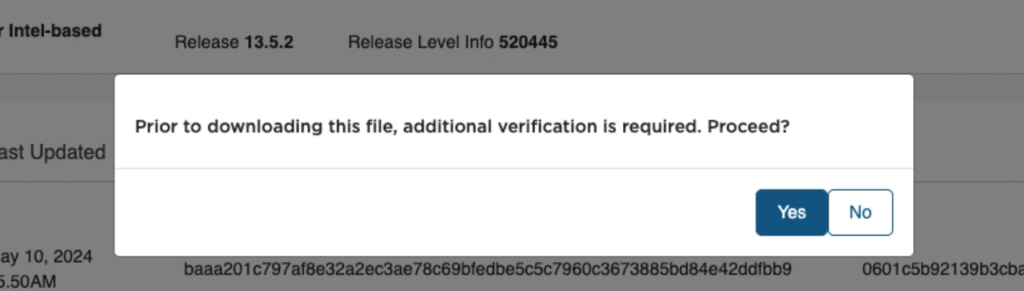
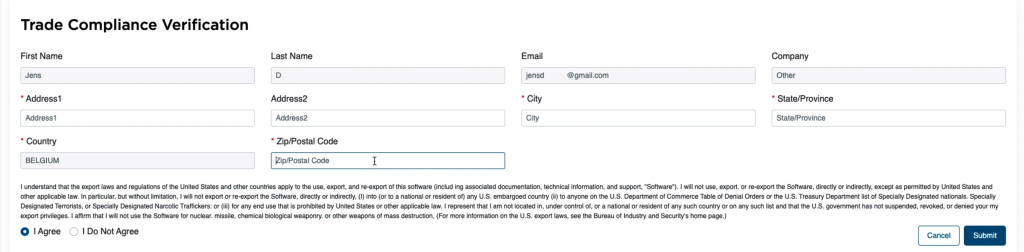
Unfortunately this requires providing some additional personal details as mentioned:
Complete the form and click submit at the bottom of that page:
Finally, you will be above to click the cloud button right from the software in the list and start the download:
Install VMWare Fusion
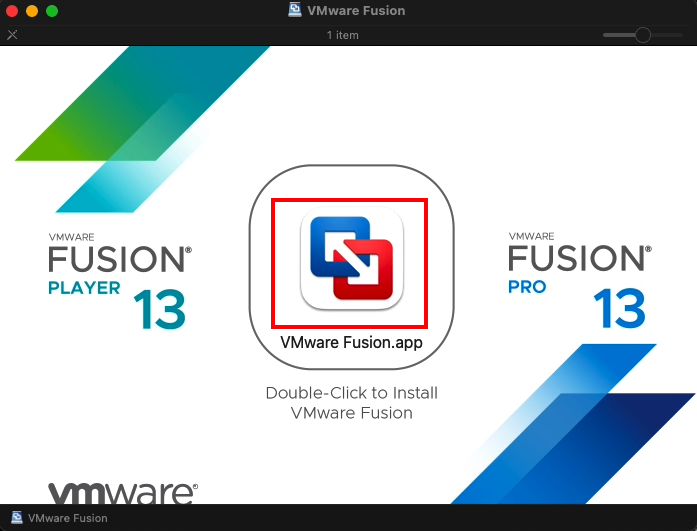
Once the file is completely downloaded, just open the downloaded .dmg file and double-click on the icon in the center:
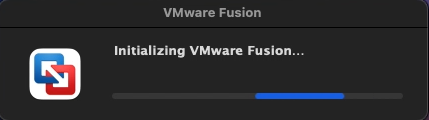
Confirm that you want to open the application and enter your password, then wait for the necessary components and background tasks to be installed:
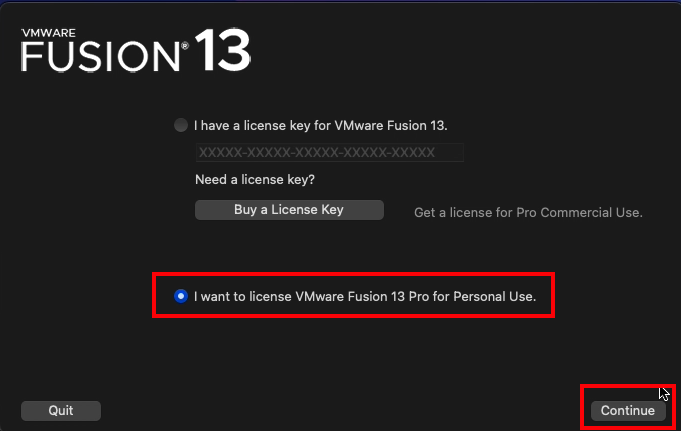
At the end of the installation, it will ask you for a license key. As mentioned in the beginning, as long as you plan to use VMware Fusion only for personal use, you can select this option and press Continue:
Step 2) Download and prepare a macOS installer
Now that VMware Fusion is installed, we can go to the next step and that is to create macOS installation media. There are several ways to get your hands on an installation package for macOS but the easiest method is to download it from Apple using the App Store on your device.
Download the installer
Using the following link: https://support.apple.com/en-us/102662, you can find links to all recent (and less-recent) macOS versions available:
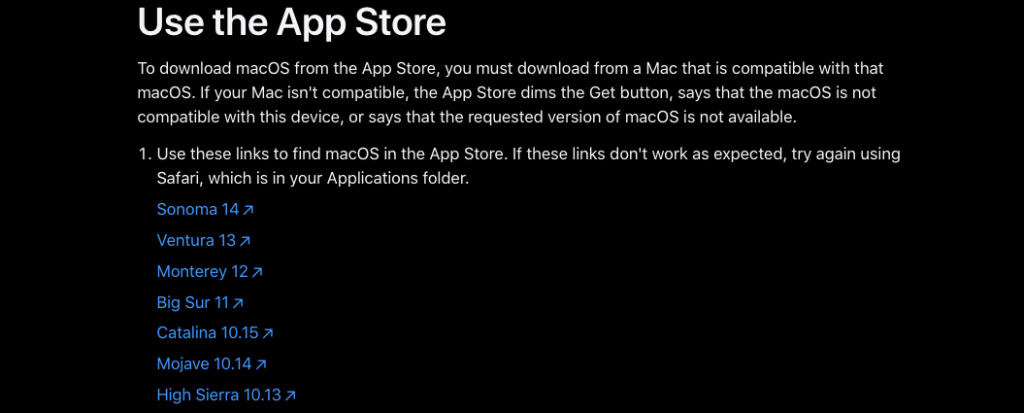
For this article, I will use the link to macOS 14: Sonoma, but the process is exactly the same for any other version available. Hence, I clicked on the Sonoma 14 link on the page mentioned above and get redirected to the App Store:
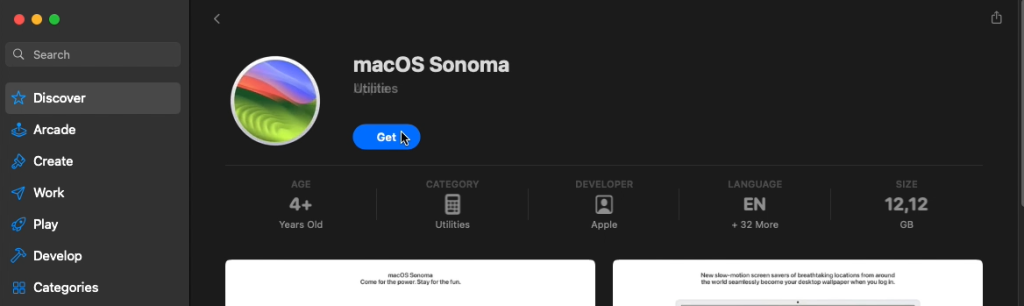
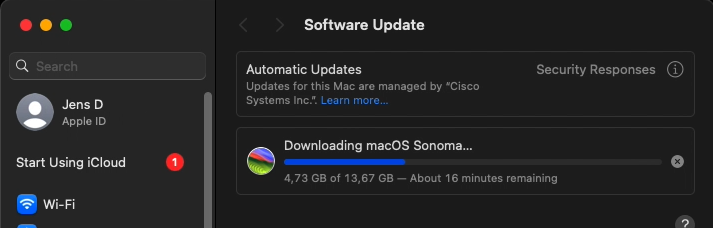
In here, click on Get and wait for the download to complete:
Once this completes, you should end up with an application “Install macOS Sonoma.app” in your Applications folder.

From here, in theory, it should be possible to proceed with VM creation and installation by simply dragging this app to VMWare Fusion. Unfortunately this results in an error message: “Unable to create the installation medium.”:
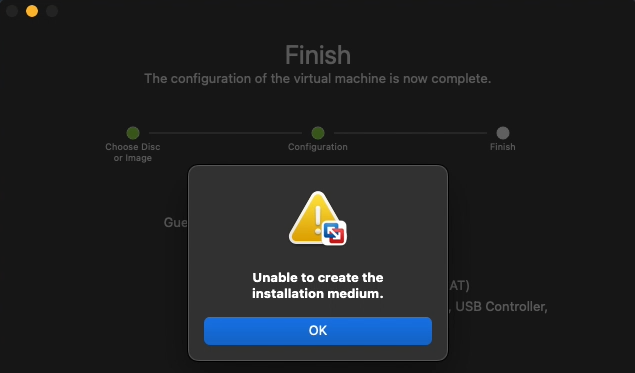
A search online and on the Broadcom forums reveals that this is a very common error. Fortunately the workaround for it is not very hard.
Create an installer image
As using the installer .app directly doesn’t seem to work, we will need to create a .dmg image with the required files. The process to do this is the same as if you would create a USB drive for installing macOS on a real machine, except that here we’ll be using a virtual image instead.
First step is to create an empty .dmg file of 15GB. To do so, open a terminal window, navigate to the desktop and create the file using the following command:
jensd@Mac ~ % cd Desktop
jensd@Mac Desktop % hdiutil create -o macos14install.dmg -size 15g -layout SPUD -fs HFS+j
created: /Users/jensd/Desktop/macos14install.dmg
As you can see above, this command will create a new file called macos14install.dmg of 15GB on the Desktop.
Next, we can use the installer application that we downloaded via the App Store to fill up that image with the required installation files.
First, mount the macos14install.dmg file by double-clicking on it on your desktop. This should then be mounted under /Volumes/untitled:

Next, again in terminal, type the following command:
jensd@Mac Desktop % sudo /Applications/Install\ macOS\ Sonoma.app/Contents/Resources/createinstallmedia --volume /Volumes/untitled
Password:
Ready to start.
To continue we need to erase the volume at /Volumes/untitled.
If you wish to continue type (Y) then press return: y
Erasing disk: 0%... 10%... 20%... 30%... 100%
Copying essential files...
Copying the macOS RecoveryOS...
Making disk bootable...
Copying to disk: 0%... 10%... 20%... 30%... 100%
Install media now available at "/Volumes/Install macOS Sonoma"
The first command is the location of that “Install macOS Sonoma.app”. Obviously you will need to adjust that path to match the version of macOS that you downloaded via the App Store. You can also just drag the installer on the terminal window to get the path inserted correctly. The argument to the command: –volume, is the destination of the files (so that mounted 15GB .dmg which we created earlier).
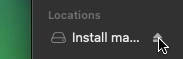
Once the installation media is created, make sure to unmount the “Install macOS Sonoma” volume using finder:
Step 3) Create a virtual machine and install macOS
Now that we have our hypervisor: VMware Fusion installed and have prepared an installation image of the macOS version we would like to run virtually, it is time to finally create a new virtual machine and install macOS in it.
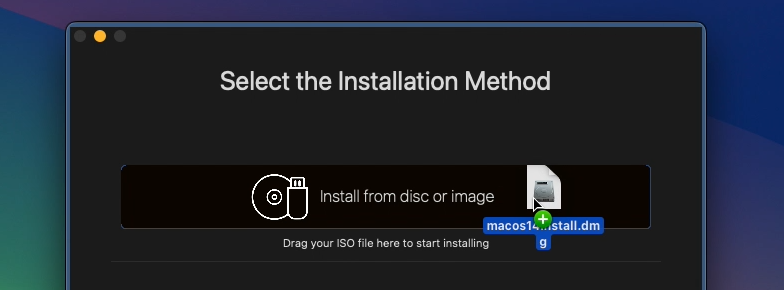
Start VMware Fusion and drag that macos14install.dmg file from the Desktop onto the “Install from disc or image” in Fusion:
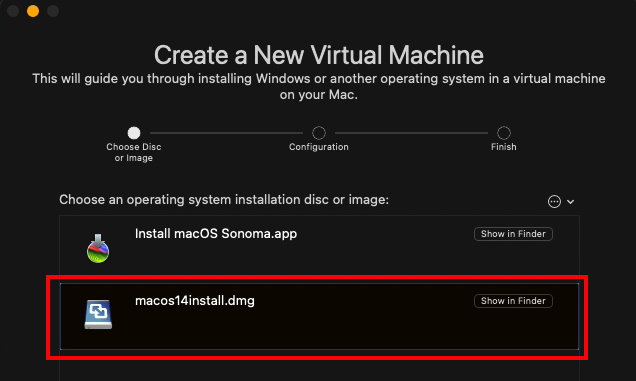
In the next step, make sure that the macos14install.dmg image is selected and continue to the next step:
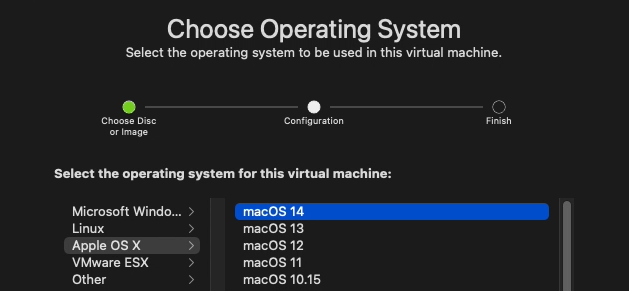
Choose the version of macOS that matches with the image you have created earlier. In my case this is macOS 14: Sonoma:
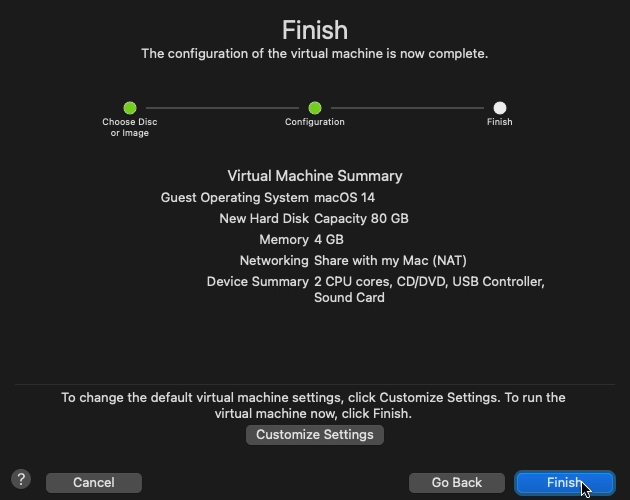
In the summary step, click Finish:
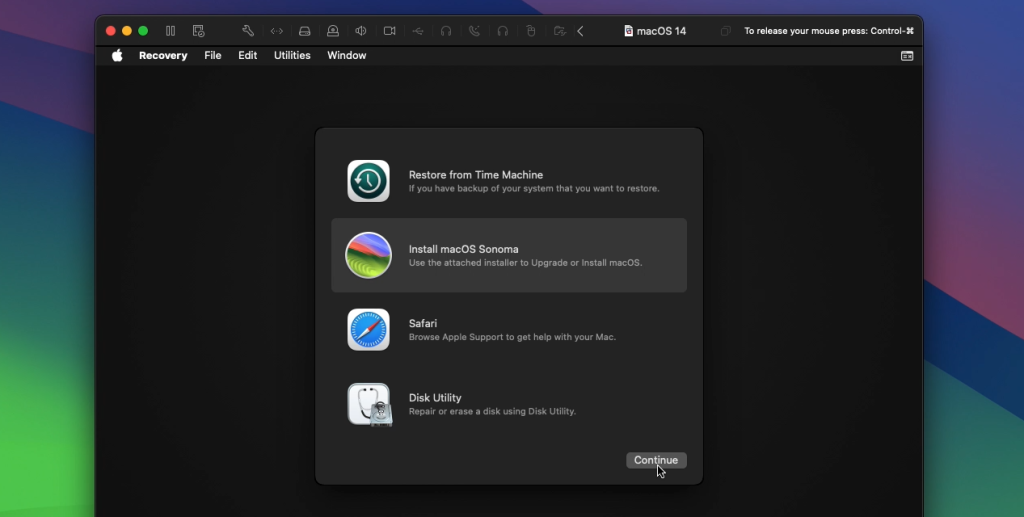
After a bit of patience, the new virtual machine will be create and it will boot up. You should get to see the Apple logo and eventually you will end up in Recovery. From here, select “Install macOS Sonoma” (or the version of choice) and click continue:
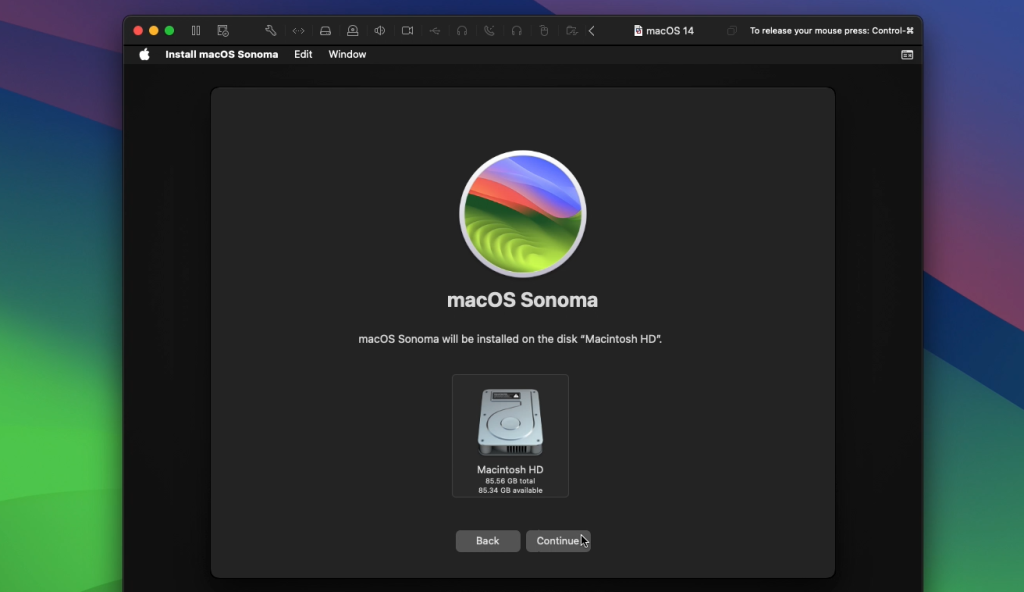
Continue again, accept the license agreement when asked and finally select the virtual drive available and click Continue once again:
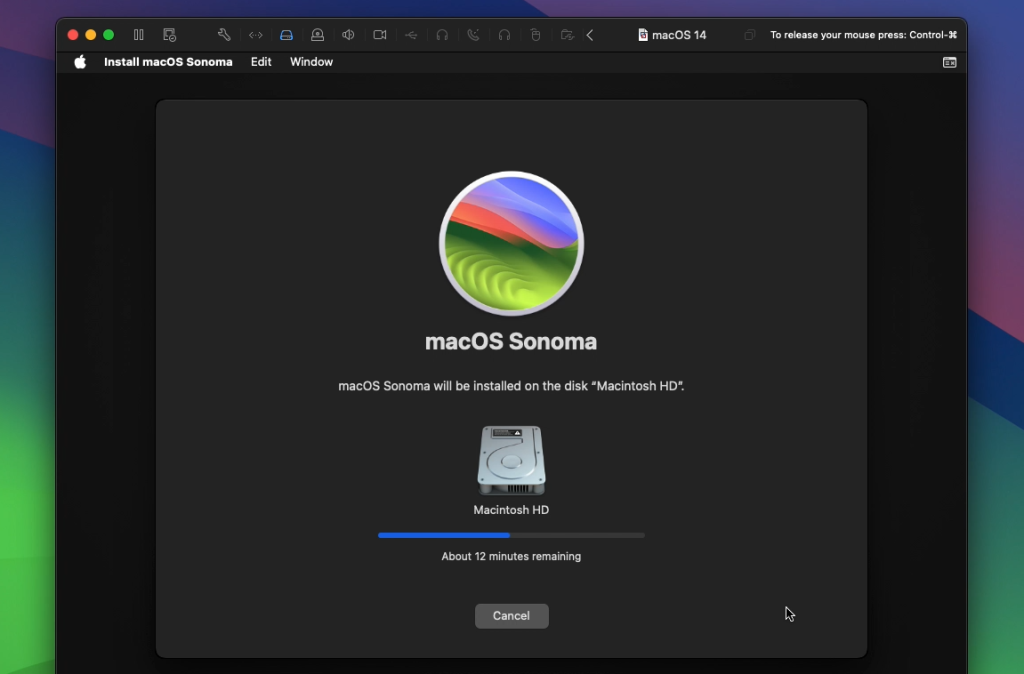
After this, you will need to be patient once again. On my 2019 16″ Macbook, this process took about 30 minutes:
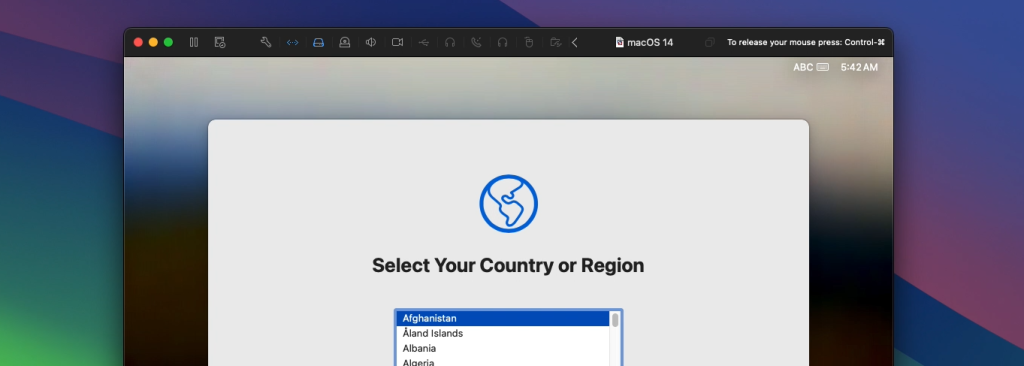
If all goes well, you will eventually end up with a language selection dialog, just as would be seen when performing a bare-metal fresh installation of macOS:
Just continue through the rest of the questions regarding regional settings, creating a user, time zone, location services and so on until you finally reach your macOS desktop:

As you can see, the VM isn’t able to display the moving Sonoma wallpaper and the resolution is locked to 1024×768 but we will still fix this.
Step 4) Post-installation actions
Now that we have macOS installed and have the virtual machine up and running, you should be able to use it as any other real macOS instance. But we can still tweak and improve things a bit.
Install VMware Tools
The first step here is to install the VMware tools in the virtual machine. This is a set of tools, developed by VMware, that contains enhancements and extensions for macOS for better support and performance when running in a virtual environment.
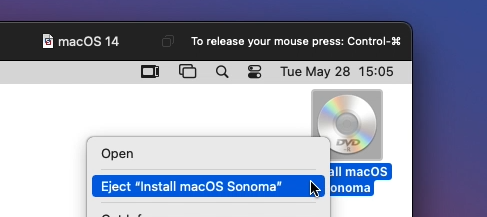
First of all, we need to unmount the virtual installation DVD by right clicking on the DVD icon on the desktop and clicking Eject “Install macOS Sonoma”:
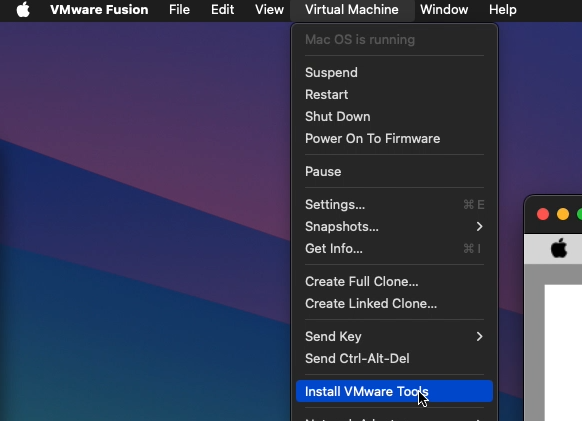
Next, we need to mount the VMware Tools installer virtual media by navigating to Virtual Machine > Install VMware Tools in the menubar on your host machine (not in the VM):
VMware will tell you what will happen, just click Install to continue here:

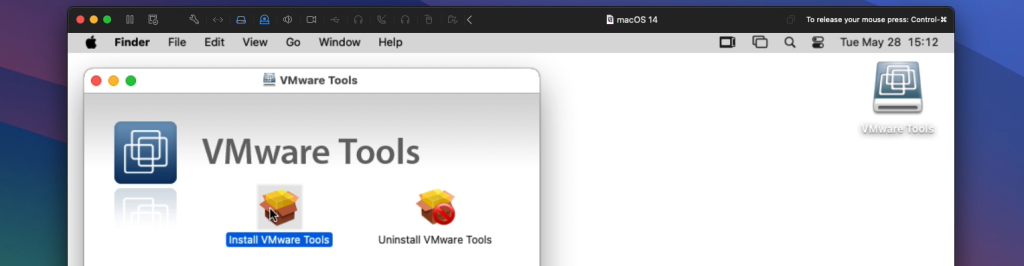
In a few seconds, you will see a new icon appear on the desktop called VMware Tools and it will automatically show you a meny where you can run “Install VMware Tools”:
Enter your user’s password and click Allow for the installer to make changes to your VM:
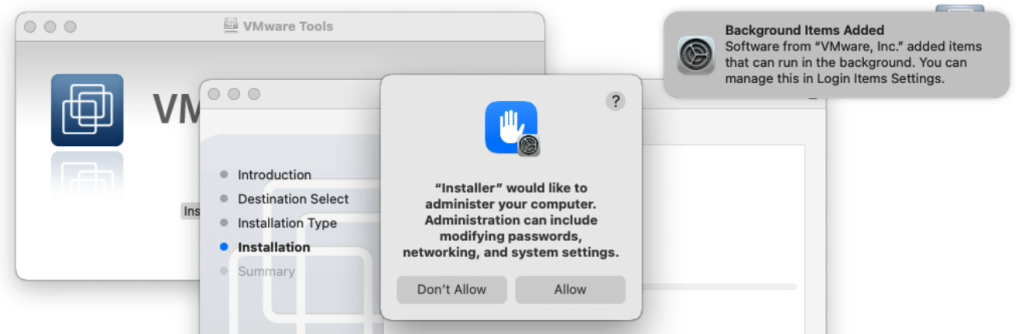
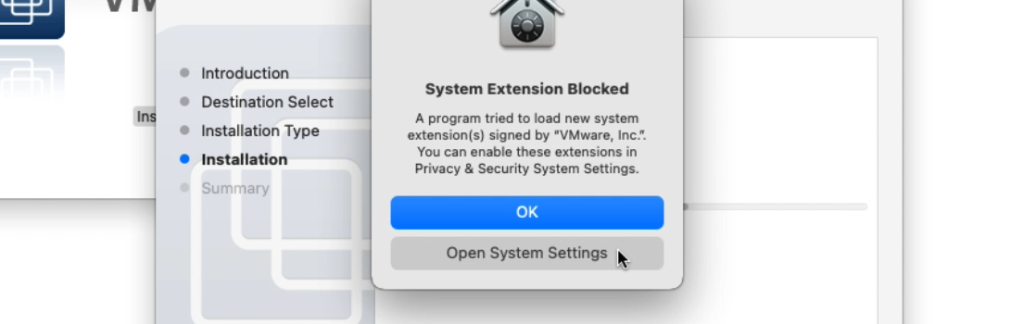
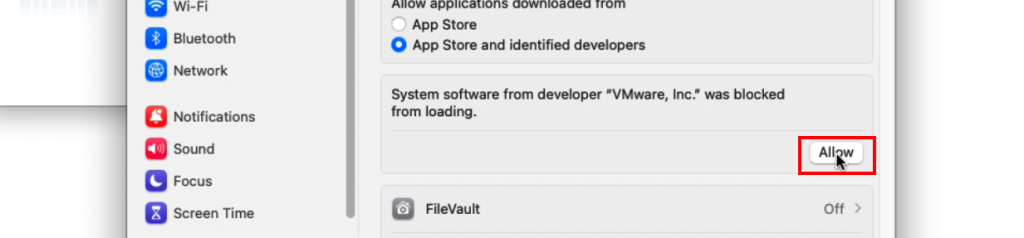
If you get a notification regarding system extensions that are blocked, click “Open System Settings” and Allow the extension from VMware as this is exactly what we want to have:
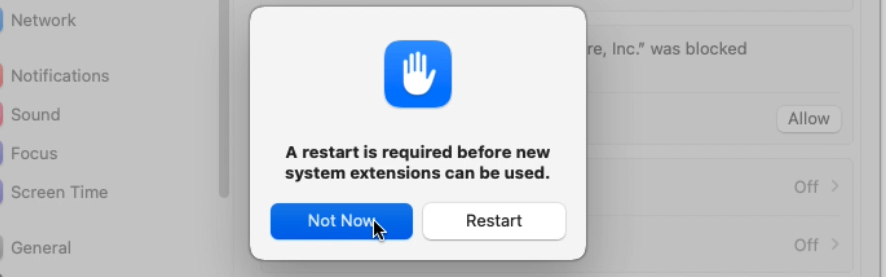
After entering your password, system settings might ask you to reboot the VM but choose “Not Now” here instead.
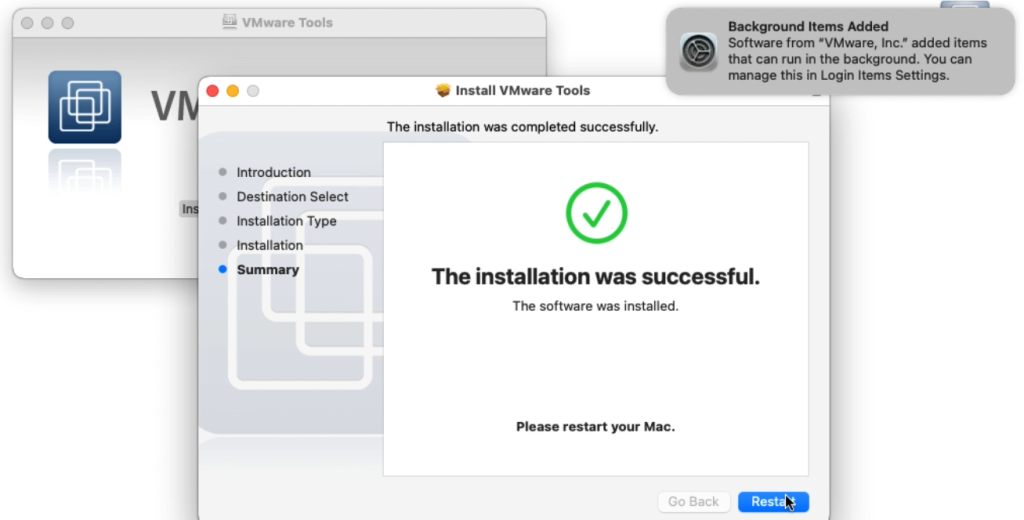
Even though I was relatively fast to allow the system extension, in my case the installer for VMware Tools still failed. If this would happen to you as well, just re-run the “Install VMware Tools” from the media that is mounted on the desktop. If all goes well, you should end up like this. Here, choose to Restart the VM:
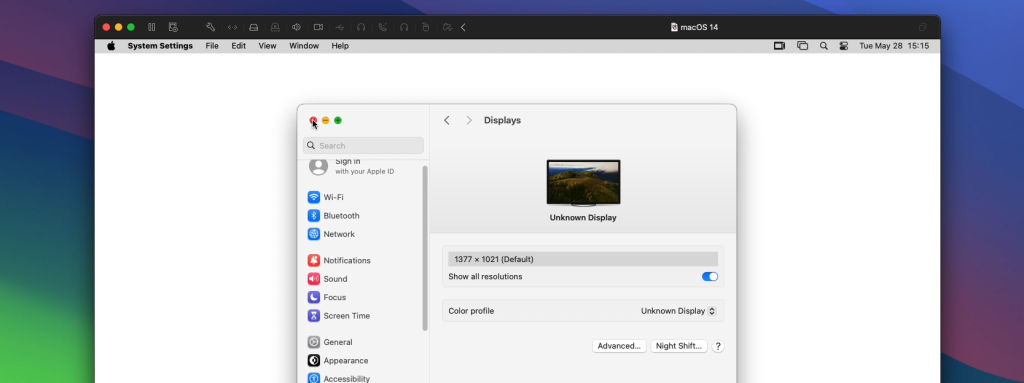
Change resolution
As you might have noticed already at this point, before installing the VMware Tools, the display resolution was limited to 1024×768 in the virtual machine. And even after the tools are installed, the Displays-part of System Settings might not allow you to choose any other resolution. Instead, you can just resize the VM’s window on your host and it will automatically adjust the resolution:
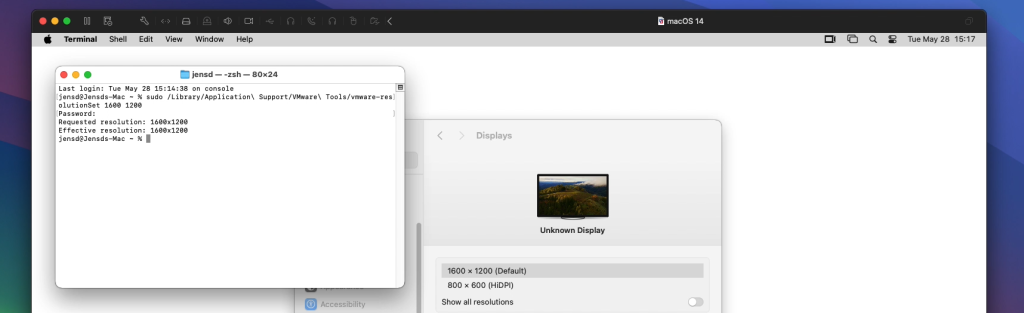
As you can see in the above screenshot, this leads to strange and non-standard resolutions that might cause compatibility issues with certain software. In case you want to set a standard resolution or just specify an exact resolution, open a terminal window and run the following:
sudo /Library/Application\ Support/VMware\ Tools/vmware-resolutionSet 1600 1200
You can change the 1600 and 1200 in the above command to the horizontal and vertical resolution you want to set:
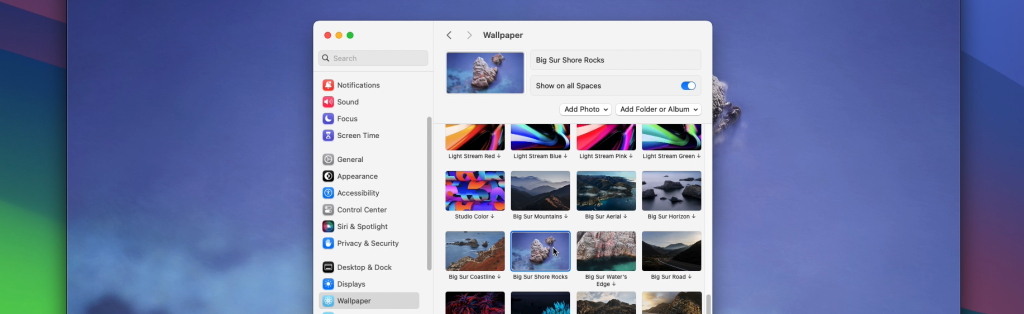
Unfortunately as we don’t have any 3D/GPU acceleration, the dynamic wallpapers from macOS 14 are simply not displayed. The workaround is to just set a fixed/classic wallpaper:
Improve performance
After fixing the display limitations, we can also do a few tweaks to the performance. You might have noticed that VMware Fusion shows the following when starting the virtual machine:
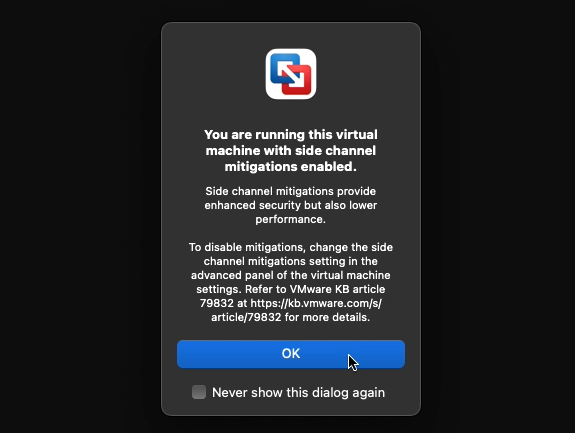
Although, as the message says, this improves security, it does make a rather large difference in performance if we disabled this. And while we’re about to change this setting, let’s also increase the amount of cores and memory available to the virtual machine.
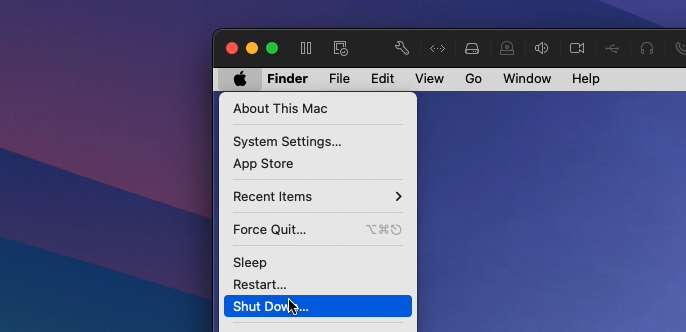
Start by shutting down the VM:
And once it is shut down, click on the “Edit hardware settings” icon as shown below:
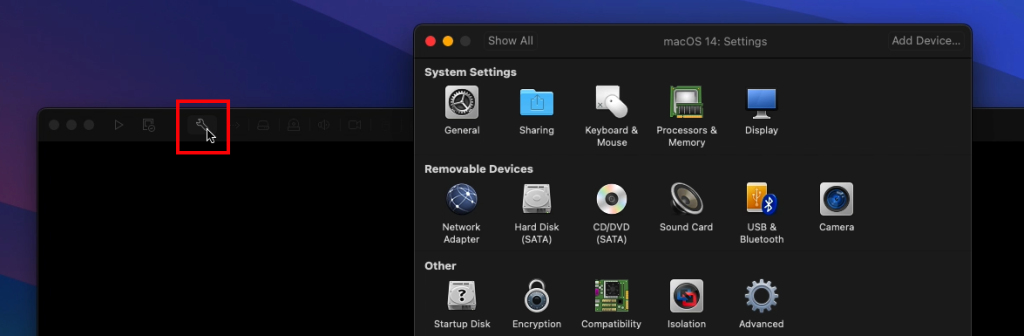
In the settings, let’s first disable the Side Channel Mitigations by going to Advanced and check the “Disable Side Channel Mitigations checkbox:

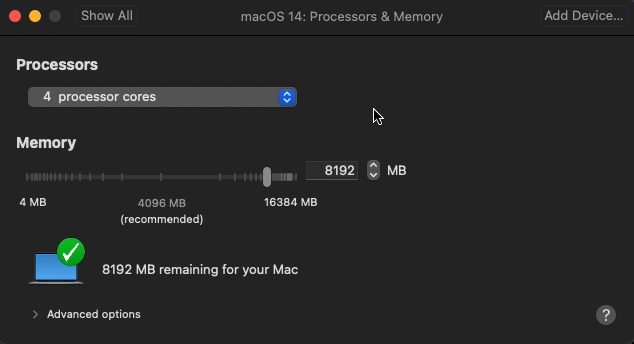
Click Show All on top of the window and go to Processors & Memory now. Here we can increase the amount of cores and memory available to the virtual machine. The higher, the better the VM will perform but the worse is left for your host machine’s macOS:
After this, just start your VM again and see how that improved performance. In case you’re curious how this VM actually performed on my Mac, I did some benchmarks in the last section of this article.
Share folders
Although this is an optional step, it can be very handy if you want to share data and files between the guest and host machine. After we installed the VMware tools, it is possible to share folders between the natively installed macOS on your machine and the instance running virtually.
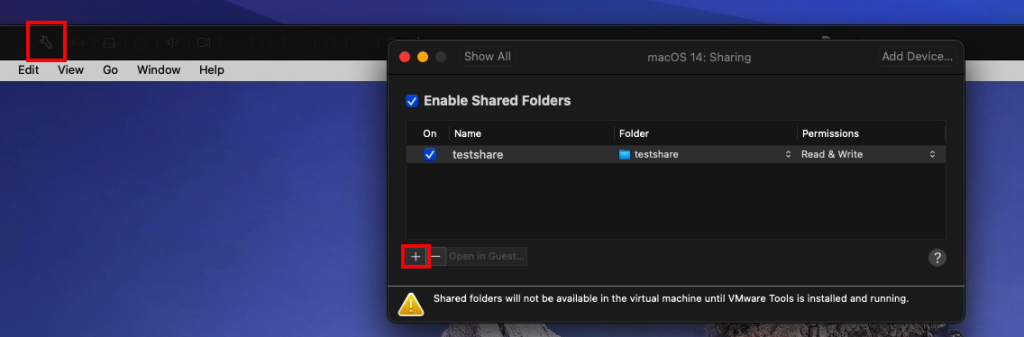
To do so, click the “Edit hardware settings” icon on top of the VM window and navigate to Sharing. Here you can click the + icon to add a folder to share with the VM:
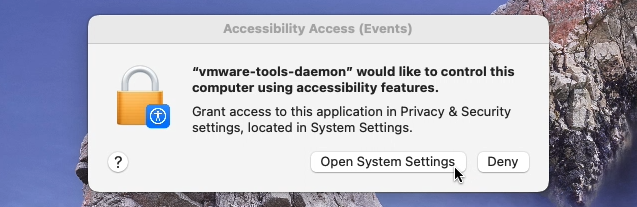
After doing so, the first time you are sharing something, you will still need to allow the vmware-tools-daemon to control your virtual machine. Click Open System Settings:
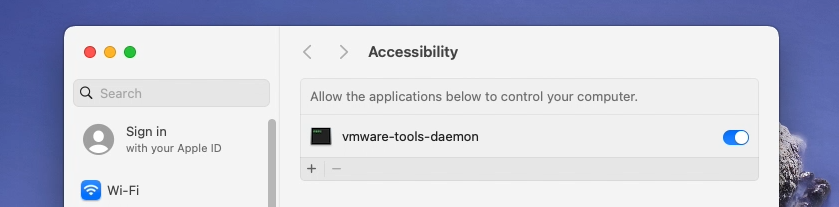
And allow the vmware-tools-daemon the required access:
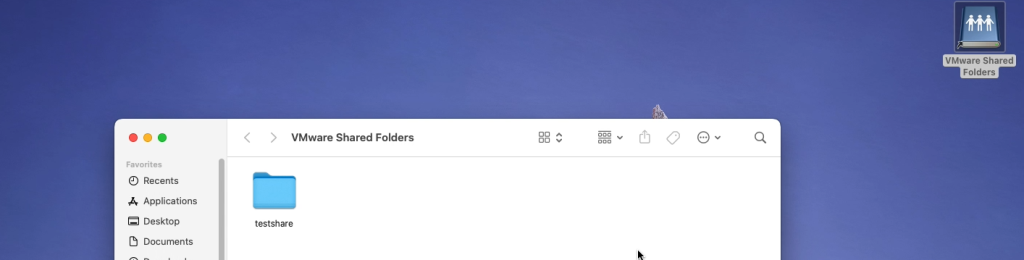
If all goes well, you should now be able to use the “VMware Shared Folders” icon on the desktop to access all the folders you selected to be shared with the virtual machine.
Performance
Overall, you can feel some sluggishness when working with macOS on the VM. This is mainly due to the lack of 3D acceleration to my idea as the actual performance and waiting times are not that bad overall.

To test the impact, I performed some synthetic benchmarks:
CPU
To test CPU performance, I ran the CPU benchmark in both GeekBench 5 and 6. These were the results respectively:


As you can see there clearly is an impact to the single core performance but surprisingly, even though the amount of virtual cores for the VM is limited to 4, multi-core performance isn’t that bad. Definitely these are values that are very usable. A lot of Macs have a much worse score even when running macOS natively.
Disk
For disk performance, I used AJA System Test and got the following results.
For the virtual machine:
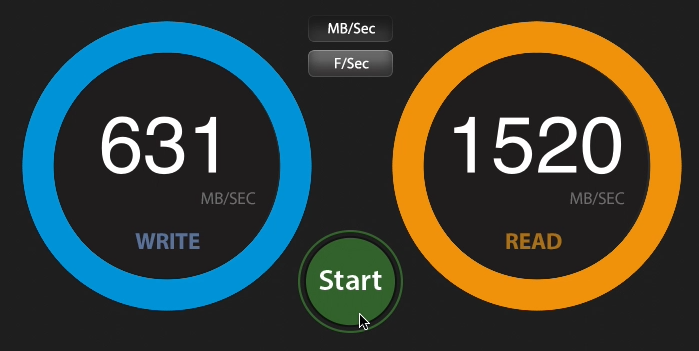
On the natively installed macOS:
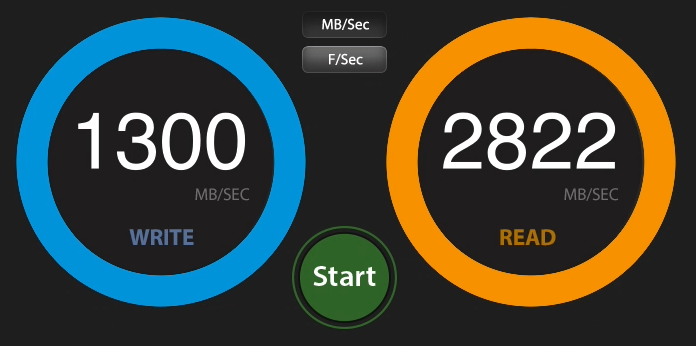
Here again, you can for sure see the impact on the results but the conclusion as with the CPU test is very similar as the performance reached on the virtual machine is more than usable.
Hopefully this article will help you to set up your virtual macOS machine :)
Hi there! Thank you so much for your in-depth tutorial, it was really helpful setting up the VM on my 2019 Intel MacBook Pro.
Unfortunately, I’m stuck after installing the VMWare Tools, specifically at the stage for the display resolution. No matter what I try, I can’t get the resolution to change to something I can actually work with.
I’ve tried:
– Different resolutions
– Restarting the VM
– Disconnecting the MBP from the Apple Studio Display
– Googling
Any tips on how to fix the resolution issue? I’m delighted to finally have a macOS 14 VM, but as it is now, it’s barely usable unless I press my nose to the Apple Display to see something, lol.
Does the resolution change when you drag the VMs window or run the command to change it? If it does, I believe there is a setting to fix scaling with Retina displays. In the VM settings > Display > Use full resolution for Retina display. Maybe try to play around with that?
Hi Jens! Thanks for getting back to me! Dragging the window didn’t help, but through a lot of googling, I found that the kernel extension modules weren’t all allowed. I had gone to the Settings to allow them originally, but I think there were two pop-ups and I only confirmed one because they were shown right after another. Step 5 on this page fixed it for me: https://docs.vmware.com/en/VMware-Fusion/13/com.vmware.fusion.using.doc/GUID-FC74F5F1-ECC1-4C1C-AA25-7C9AF2DC2ADB.html
Cheers!
Great overview very very detailed and organized. Was ttrying this for Ventura, Unfortunately after getting the .dmg made from the installed from apple, and running the installer, i get to the part where you set up like the accessibility, language, etc, then I get this error every time:
“The selected source cannot be used for migration, Volume contains a macOS or OS X installation which may be damaged”
I’ve tried reinstalling the installer, tried Monterery too, tried .ISO and .DMG, and all get to the same spot then give that error. Curious if you had any thoughts on why?